This article describes how to take a wired or wireless packet capture from the XV/XE series APs. This is very useful for troubleshooting purposes and Support may request this if required.
- Login to the Web Management Interface of the AP by loading its IP address in a Web Browser.

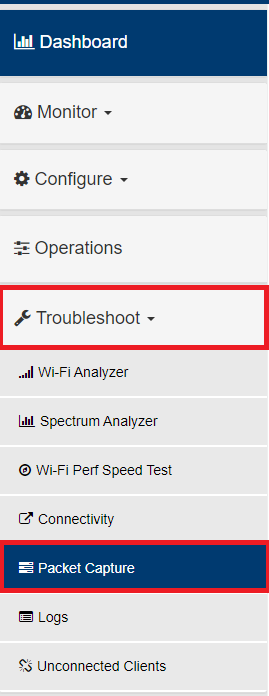
- Using the Menu system on the left side, select Troubleshoot and then Packet Capture.
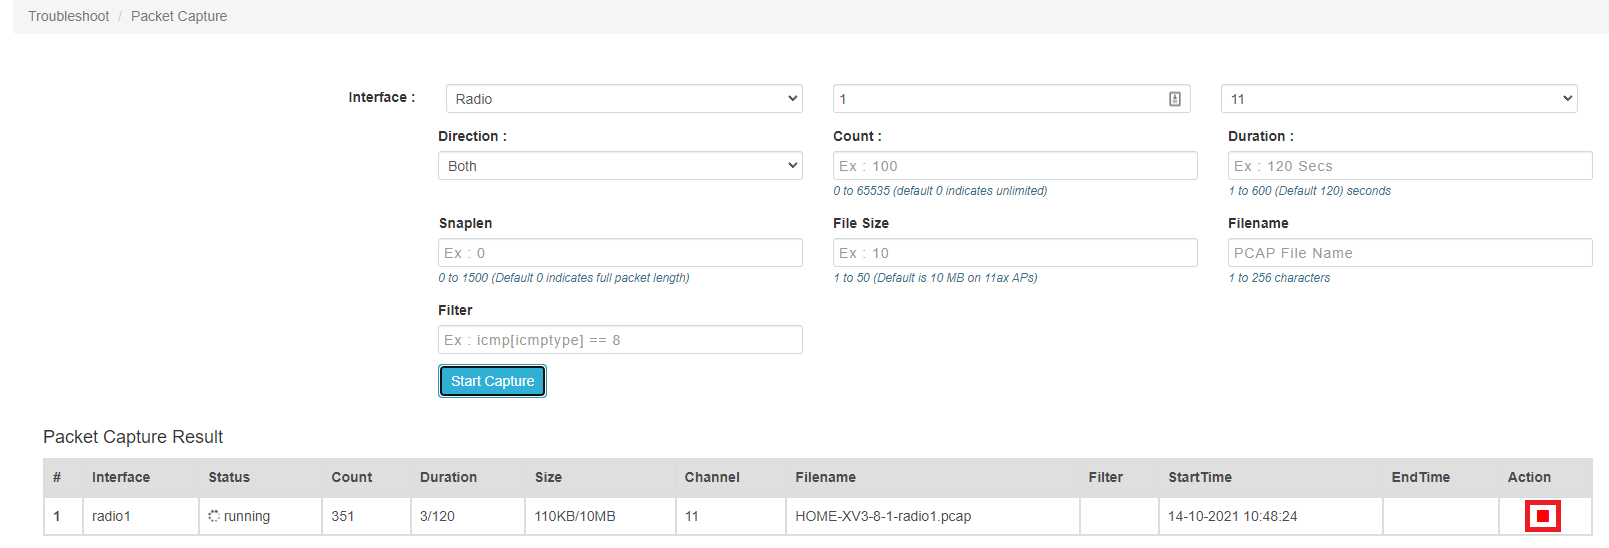
- From this page, you can select the options required to capture the packets or frames required.
Wired Packet Captures
- Click on the Interface drop-down and select Ethernet and then specify the Interface number required. Ethernet 1 is the default port to use but if your AP has more than one port and they are bonded using an option such as LACP, you can use the Bridge option and select the Bridge number that is being used.

- From here you can capture all by clicking the Start Capture button, but if you wish to limit the output captured, you can use the listed options. The appropriate User Guide will go in to more detail as to what each option listed will provide.

- Once the Packet Capture has started, replicate the issue you are experiencing and when this has finished, press the Red Stop square under the Action header in the Packet Capture Result table.

- You can then download the file by clicking the Download icon under the same Action header in the Packet Capture Result table.

Wireless Packet(Frames) Capture
-
Click on the Interface drop-down and select the Radio option, then input the radio number you wish to Capture on and select the channel that Radio is using. For example, in Monitor > Radio, you will see the Radio number and the Channel that is being used on the Radio.
Note: You will want to check what Radio the client device you are using to replicate the issue is on, before committing to the Wireless capture as if you capture the wrong channel, you won’t capture the information you require. Also note that if you are running bonded channels, please change this to 20MHz as the capture can only run across a single channel.

- From here you can capture all by clicking the Start Capture button, but if you wish to limit the output captured, you can use options provided. The appropriate User Guide will go in to more detail as to what each option listed will provide.

- Once the Packet Capture has started, replicate the issue you are experiencing and when this has finished, press the Red Stop square under the Action header in the Packet Capture Result table.
- You can then download the file by clicking the Download icon under the same Action header in the Packet Capture Result table.
