We often receive requests from customers that want to load cnHeat coverage into Google Earth.
While this can be done using the instructions below, please keep the following two points in mind.
- BDC Exports for cnHeat are down sampled to 10m resolution so the quality will not be as good as working directly in cnHeat.
- By exporting coverage you will lose the ability to filter coverage by customer install height and signal strength.
Introduction
Google Earth supports two types of layers. (Vector and Raster)
Vector layers allow for geometric objects where key information (i.e. points, vertices, line segments,…) is stored in the file and must be parsed, processed, and rendered to display on the screen. In comparison Raster layers store RGB values for each pixel with no embedded information to parse.
Google Earth has a limit to the number of vertices it will allow when importing polygons. Because of this, most cnHeat BDC Exports will be simplified (and distorted) when bringing directly into Google Earth. Reference
In this walkthrough we discuss using QGIS to convert the cnHeat BDC Exports (which are polygon-vector files) to a raster layer.
Adding layers to QGIS
Note: cnHeat has four steps under the Export > Coverage (477/BDC) feature. Steps 3 and 4 offer the ability to download coverage polygons. Unzipping these files will present a .gpkg and (sometimes) a .zip (shapefile) of polygon coverage. We recommend using the GeoPackage (.gpkg) for this exercise.
Load the cnHeat coverage polygon
-
Open the Data Source Manager with either Ctrl+L or by clicking this icon in the toolbar.
-
Make sure Vector is selected from the left and load the .gpkg file downloaded in Step 3 or 4 of the cnHeat Coverage Export tool.
-
Click Add
-
Click Add Layers
-
Click Close to close the Data Source Manager dialogue and to be taken back to the map view


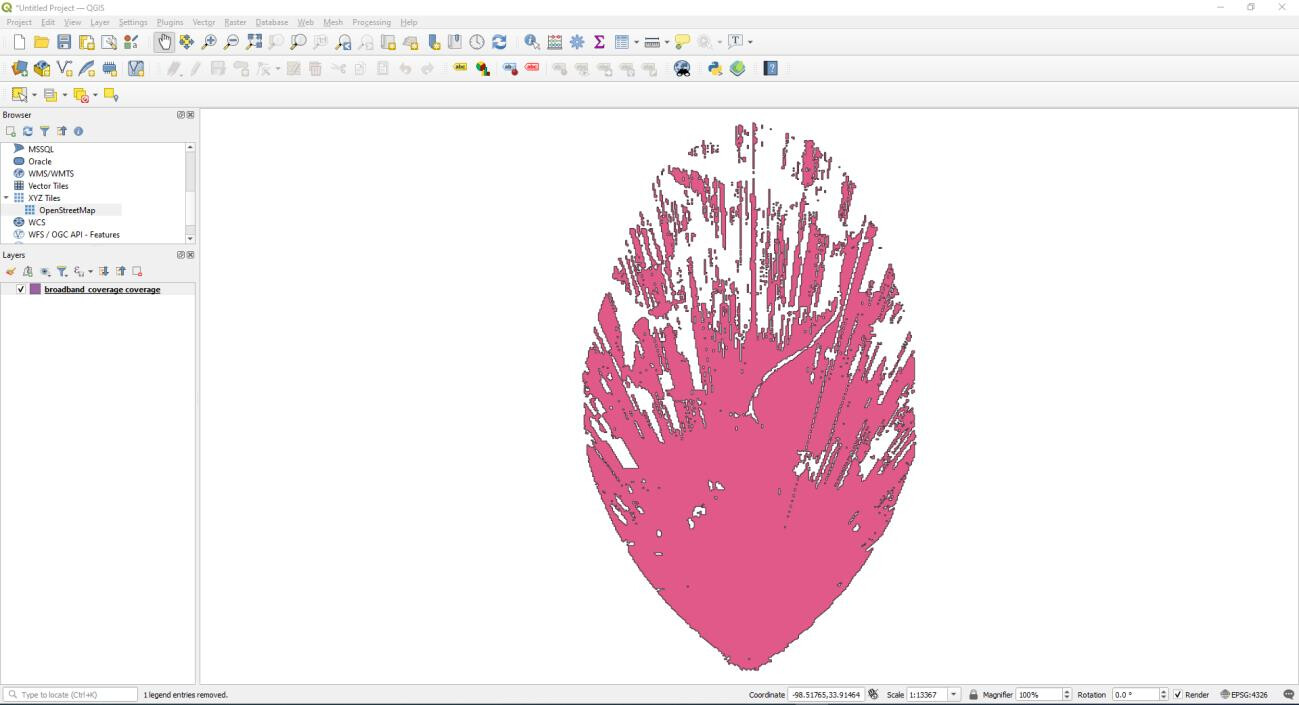
The result should look something like this:
Convert layer from vector to raster
Convert layer to a projected coordinate reference system
BDC Exports will be encoded in a Geographic Coordinate System. (The units of measure will be in decimal degrees per the BDC specification.) In our process to convert to raster we need to be working in meters. This requires transforming the layer to a Projected Coordinate Reference System.
-
To convert the layer, right-click the layer name and select Export → Save Features As…
-
Select Geopackage as the Format type
-
Click the “…” to select the location and file name
-
Click the globe icon to select the Coordinate Reference System. (See below for more instructions)
It is recommended to use UTM projection with a WGS 84 datum.
To calculate the Zone:
- Identify the longitude of a relative center point of the network. (This approach will not work if the network spans a large number of states East to West.)
- Add 180 to the longitude.
- Divide by 6.
- Round
Example:
-71.75(Longitude) =>(-71.75 + 180) / 6 = 18.04167=> Rounded to “18”Based on this example located in the North Hemisphere the search should be “WGS 84 / UTM 18N”.
-
Click the provided Coordinate Reference System and click OK.


Rasterize projected layer
-
Click Raster → Conversion → Rasterize (Vector to Raster)…
-
Select the projected layer from the Input Layer drop-down and populate the dialog box as shown:
Note: The “burn-in value” is the field that determines when pixels should receive a different color.
Note: BDC Exports have a 10m resolution. In this example we are oversampling to 5m resolution to account for any shift in pixels between the two reference systems.
-
When rasterizing is complete, click the Close button of the Rasterize (Vector to Raster) pop-up.


Apply Styling
-
Double-click the Rasterized layer from the Layers menu to bring up properties for the layer.
-
Select Symbology from the Layer Properties menu.
-
Select Paletted/Unique values from the Render Type and click the Classify button to assign colors to each possible value.
In this example QGIS is applying green to the 25Mbps signal strength, red to the 50Mbps signal strength, and blue
to the 100Mbps signal strength. Double-clicking the individual colors will allow the user to customize the selection. -
Click OK when the colors are acceptable.


Export to GeoTIFF
-
Right-click the Rasterized layer and select Export > Save Feature As…
-
In the Save Raster Layer as… pop-up:
- Select Rendered image for Output mode.
- Select GeoTIFF as the Format.
- Click the “…" to select the location and file name.
- Click OK.

Import to Google Earth
-
Open Google Earth Pro and select File → Import…
-
Select and open the GeoTIFF saved from the previous step.
-
Select Scale from the pop-up
-
Adjust Transparency as desired and click OK


Using QGIS to convert BDC Exports to a Raster KMZ-RevA.pdf (769.4 KB)