cnArcher 60 GHz v1.0.41 is now available for Android and IOS.
Android Application
To get the android app, please go to the cnArcher 60 GHz page in Play Store.
IOS Application
On your iPhone or iPad, go to cnArcher 60 GHz page in the App Store.
Knowledge Base article is available here
To install PMP450, ePMP and cnRanger SMs, please continue using the original version of cnArcher. Details available here.
Details about the longer term plan to converge the two apps into one are available here.
Overview
The “cnArcher 60 GHz” app can be used by the installer to simplify the installation of Cambium cnWave 60 GHz devices. cnWave 3000 supports configuration and alignment whereas cnWave 5000 and 1000 supports only configuration.
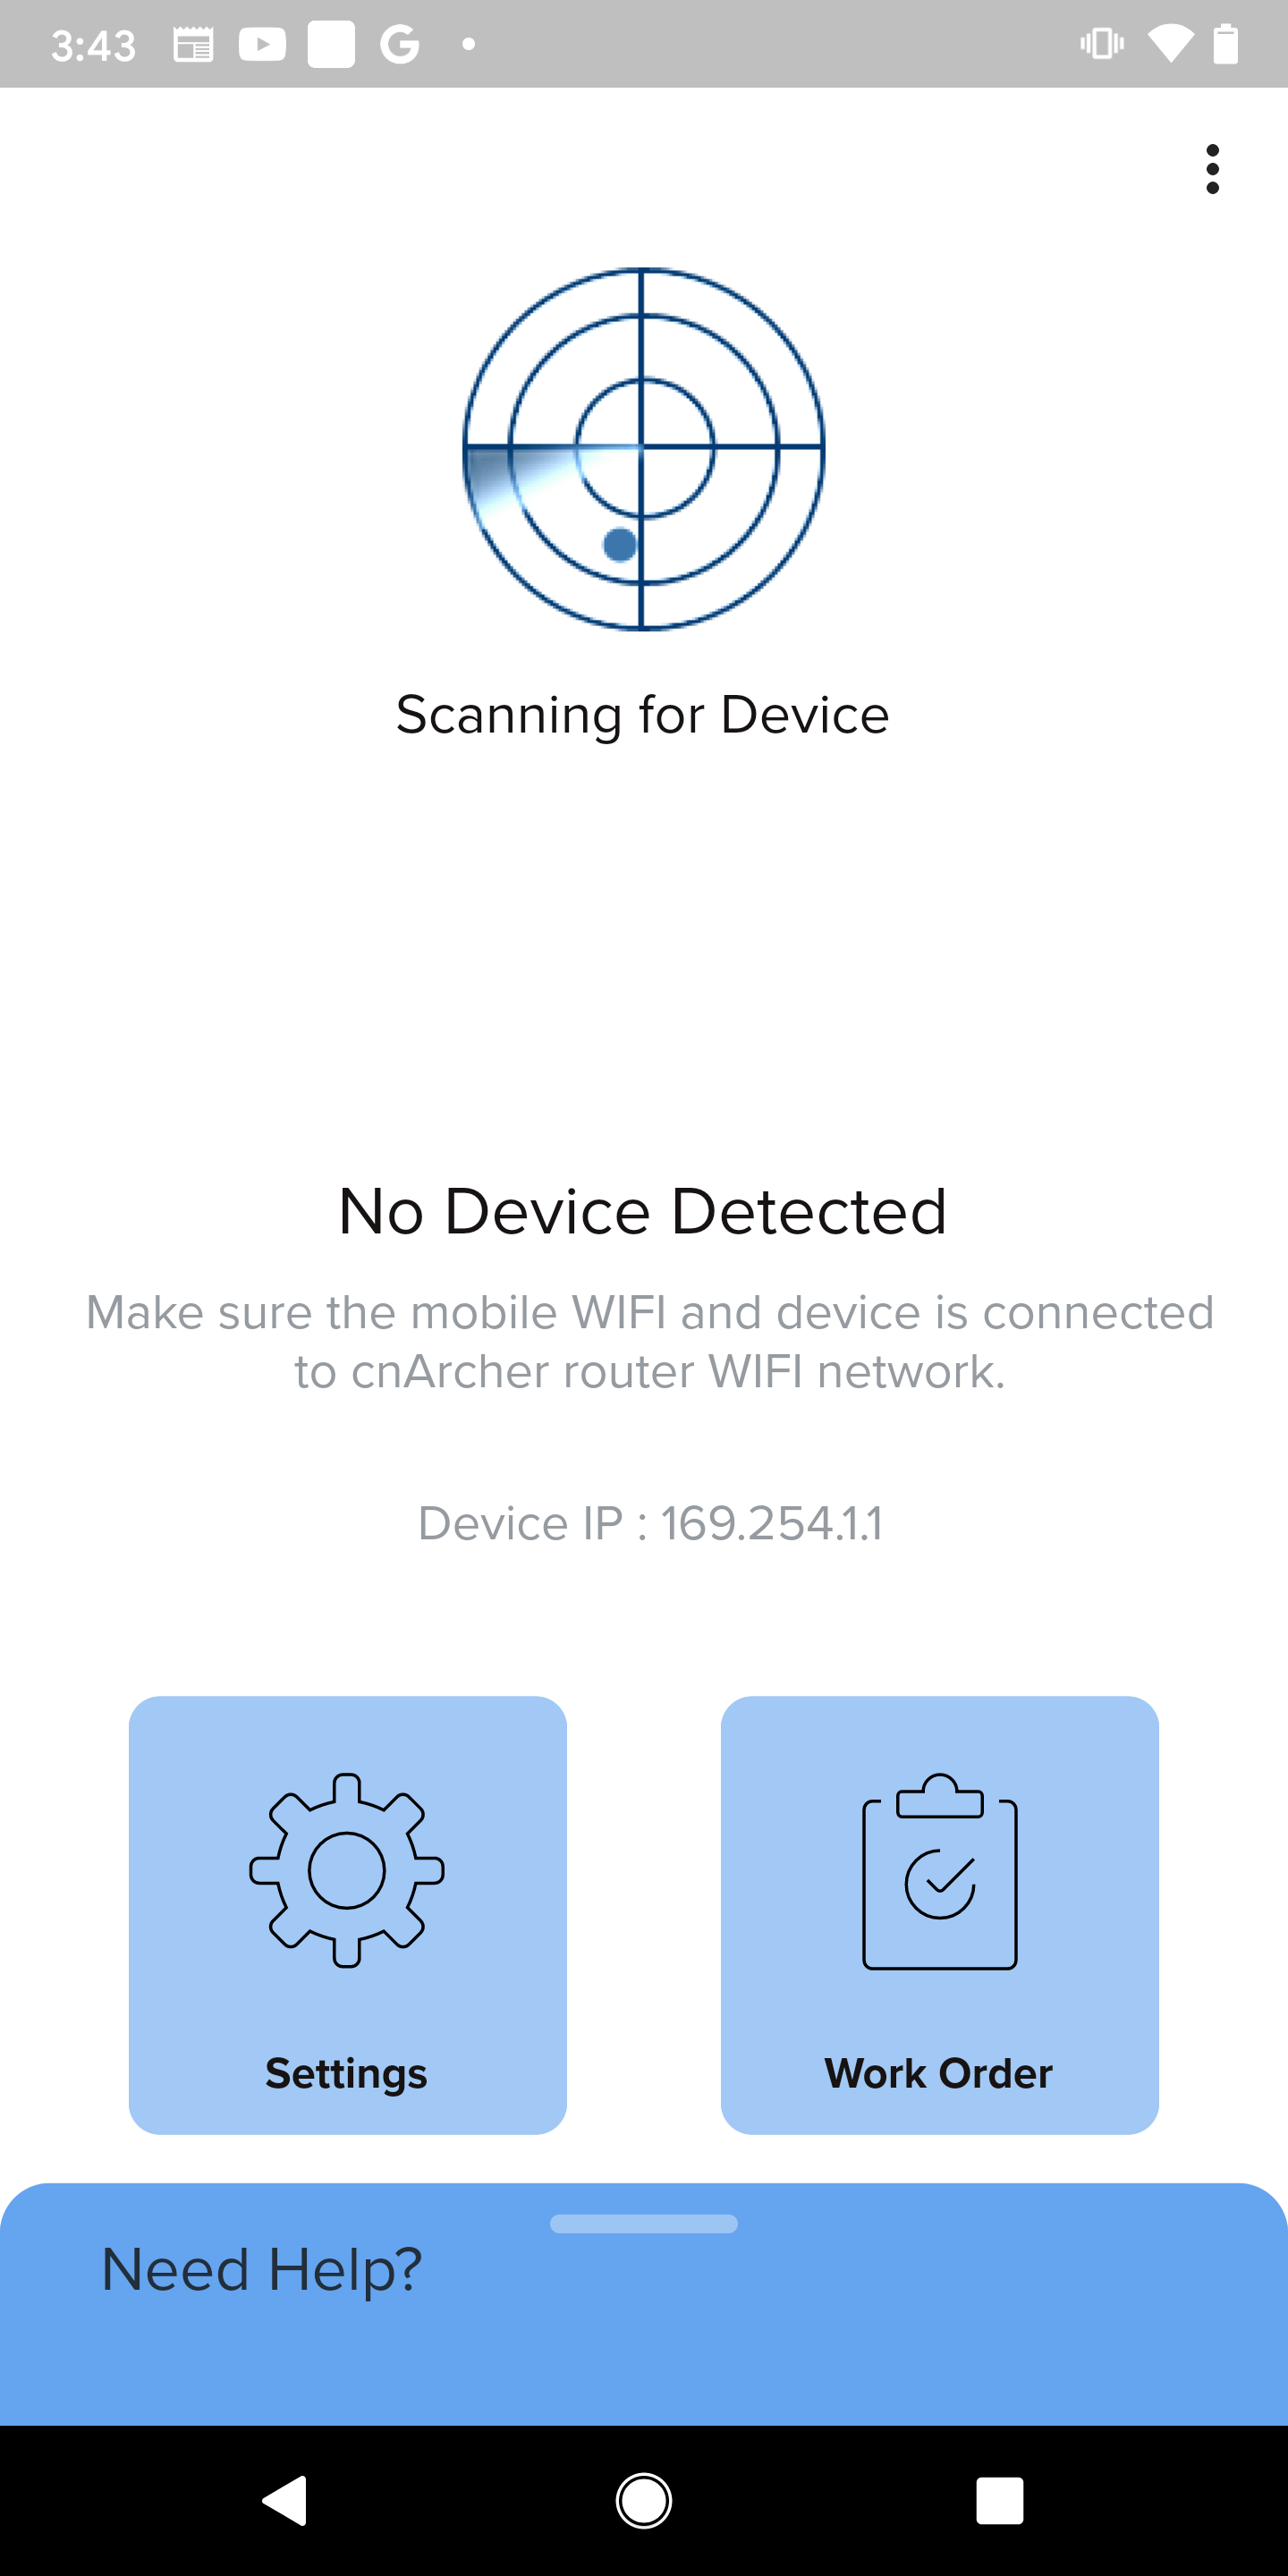
The app communicates to the Device LAN port over the Mobile device’s Wi-Fi. A portable Wi-Fi router can be used to establish this link.

Getting Started
cnArcher app WIFI configuration
Users need to configure W-Fi from Android / IOS settings.
Configure Wi-Fi in Android
- Go to Android Wi-Fi settings
- Select your SSID.
- Select ‘Static’ for IP settings ( DHCP will also work where we need to set the 169.254.1.x subnet in router with DHCP server enabled )
- Set ‘IP address’ to 169.254.1.x network (other than Node LAN IP)
- Set ‘Gateway’ to 169.254.1.1
- If ‘Subnet’ is asked, provide the value as 255.255.0.0

Configure Wi-Fi in iOS
- Go to iPhone Wi-Fi settings
- Select your SSID
- Change Configure IP from “Automatic” to “Manual”
- Set IP address to 169.254.1.x network (other than 169.254.1.1 as SM is access through this IP)
- Set Subnet mask to 255.255.0.0

cnArcher 60 GHz initial set up
cnArcher 60 GHz application scan for device with default IP, 169.254.1.1 with username and password as admin/admin respectively. User can modify the default configuration in Settings screen.

Features Supported
Configuration
Allows user to perform quick start configuration for Client Node, Distribution Node, and PoP Node. No configuration change is supported if device is onboarded to E2E.
Configuration supported for CN and DN
| Configuration/Node | Client Node (CN) | Distribution Node (DN) |
|---|---|---|
| Wireless Security | ||
| Relay Port | ||
| Sector 1 Channel |
Configuration supported for PoP Node
| Configuration/Node | PoP Node |
|---|---|
| Point of Presence | |
| E2E Settings | |
| Sector 1 Channel | |
| Border Gateway Protocol/Static | |
| Advanced Config |
Alignment
Alignment is supported only in V3000 devices. Sector 1 channel configuration is mandatory for CN and DN to start alignment. If Link is active, user needs to disable Ignition for the link and send disassoc from E2E controller before starting alignment. Below picture represent the alignment of V3K local node -V3k remote node


Install Summary
Summary comprises the configuration and alignment summary performed by user. Summary can be shared as PDF from Detailed Summary.
Work Order
User can access the history configuration or alignment using Workorder feature.