From cnMaestro 3.1.0 release, we support Full Backup using a backup software. Veeam Backup & Replication Software can be used to backup the systems running on VMware and Microsoft Hyper-V. Veeam offers a free version of their backup application which can back up and restore cnMaestro on premises. This article describes the detailed procedure on how to create backup and replicate the cnMaestro server using Veeam Backup & Replication solution. There is a similar article if you use Vinchin backup software instead:
Prerequisites
Veeam Backup & Replication software must be installed and running.
Launch the Veeam Backup & Replication Console. Enter the credentials and click Connect.

Select Backup Infrastructure from the left pane to configure backup infrastructure details such as Backup Proxies. Backup Repositories etc.
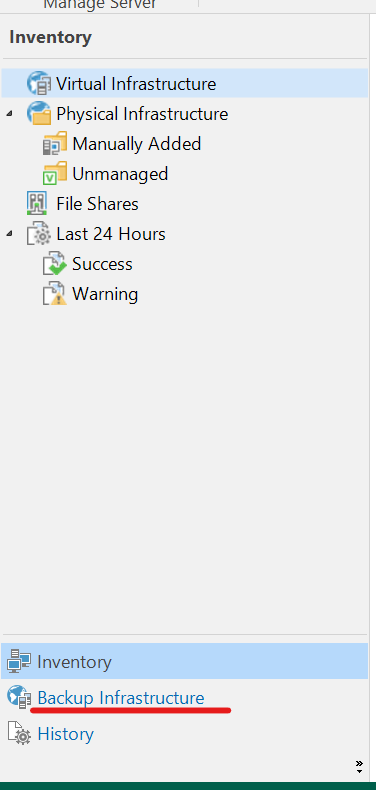
Please refer to the Veeam documentation to configure Backup Proxies, Backup Repositories etc.
- Veeam vSphere User Guide
- Veeam vSphere Quick Start Guide
- Veeam Hyper-V User Guide
- Veeam Hyper-V Quick Start Guide
Once configured, it will list all the configured details:


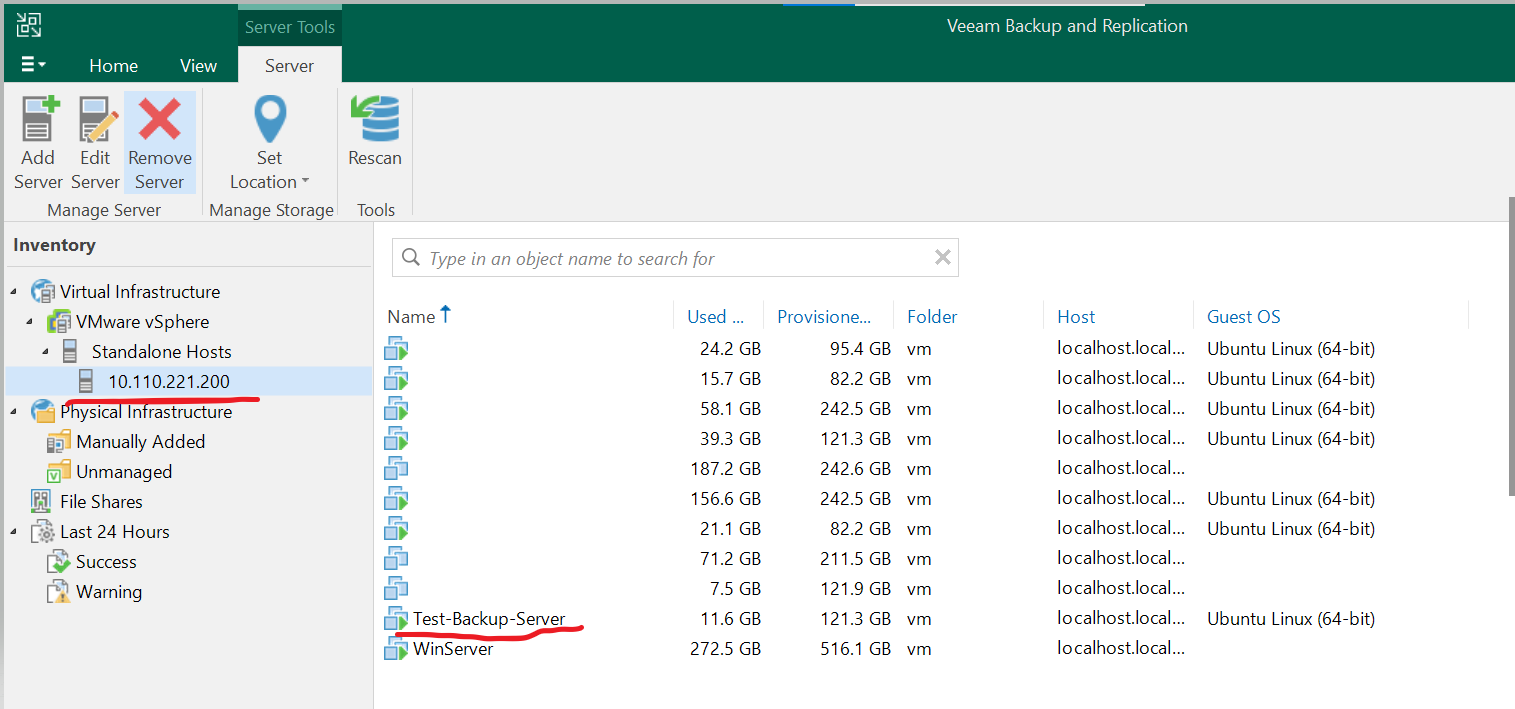
Navigate to Inventory to add the Virtual Infrastructure server we are backing up.
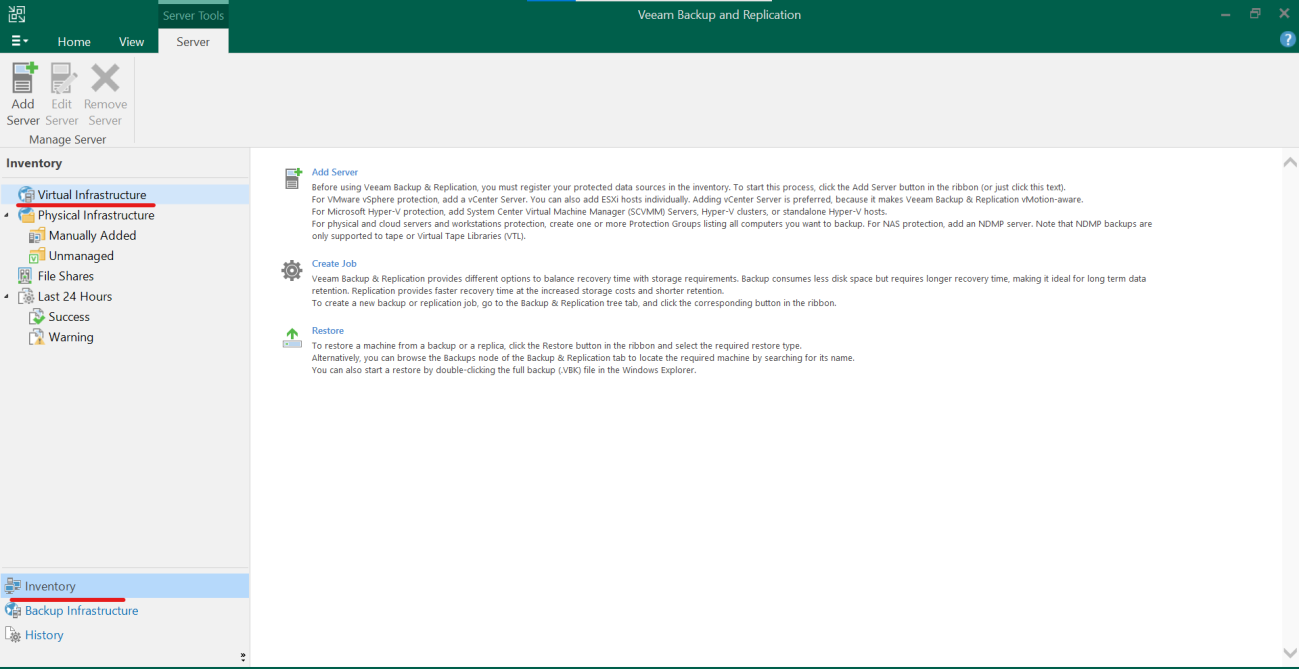
Click Add Server and select the appropriate type from the list.
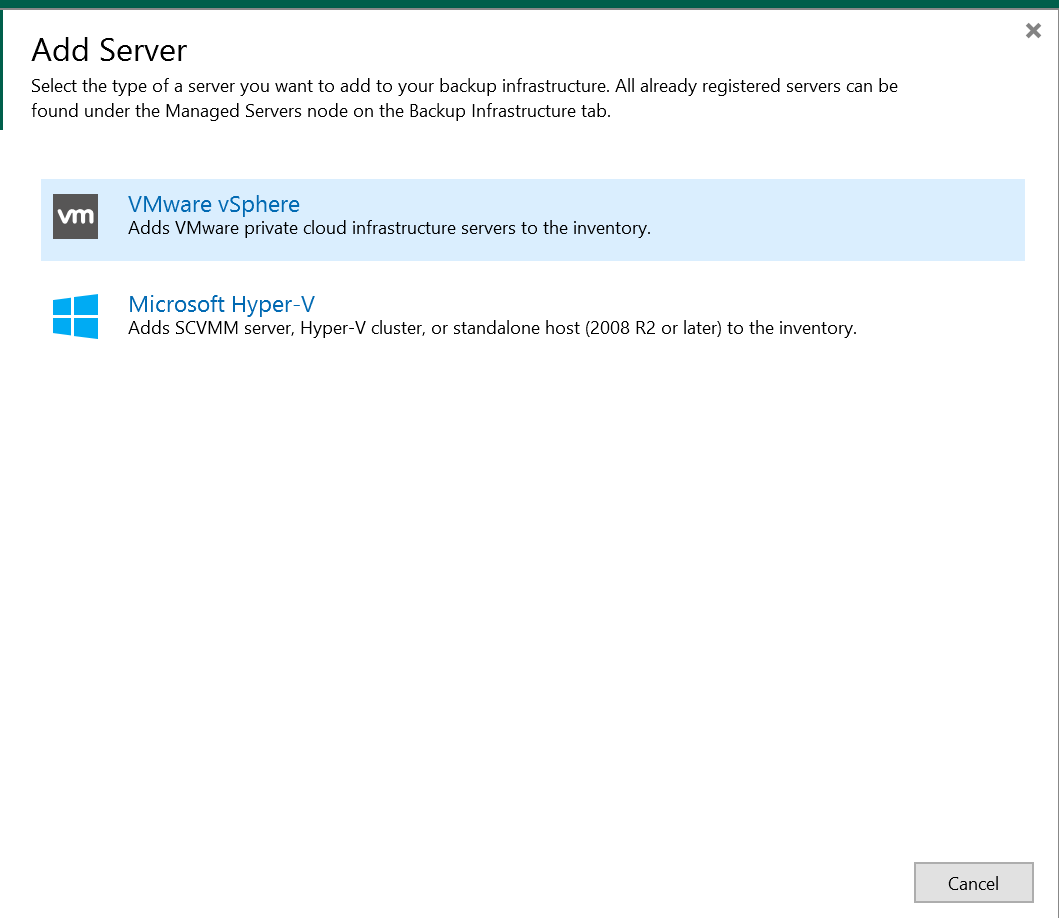
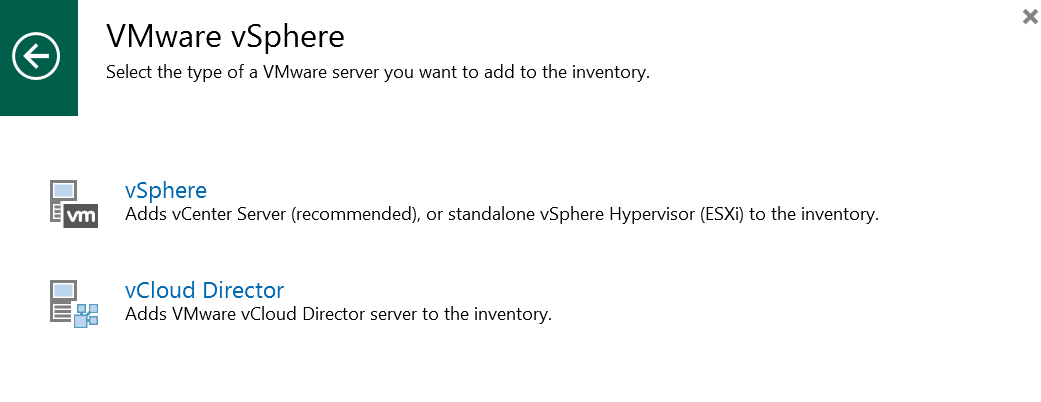
If you select VMware vSphere, the wizard will ask you select the server type as shown below. For example, select vSphere.
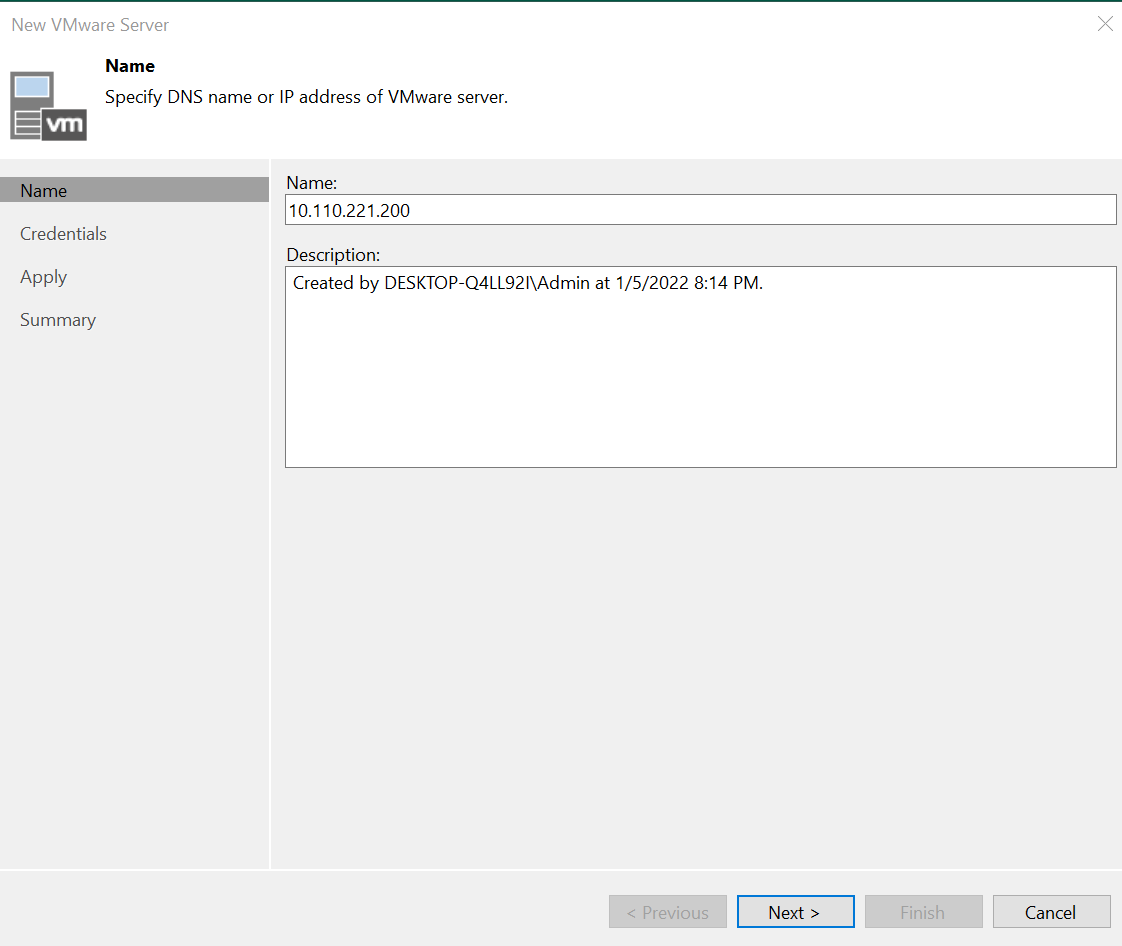
In the Name wizard, enter the name or IP address of the ESXi host/ vCenter details and click Next >.
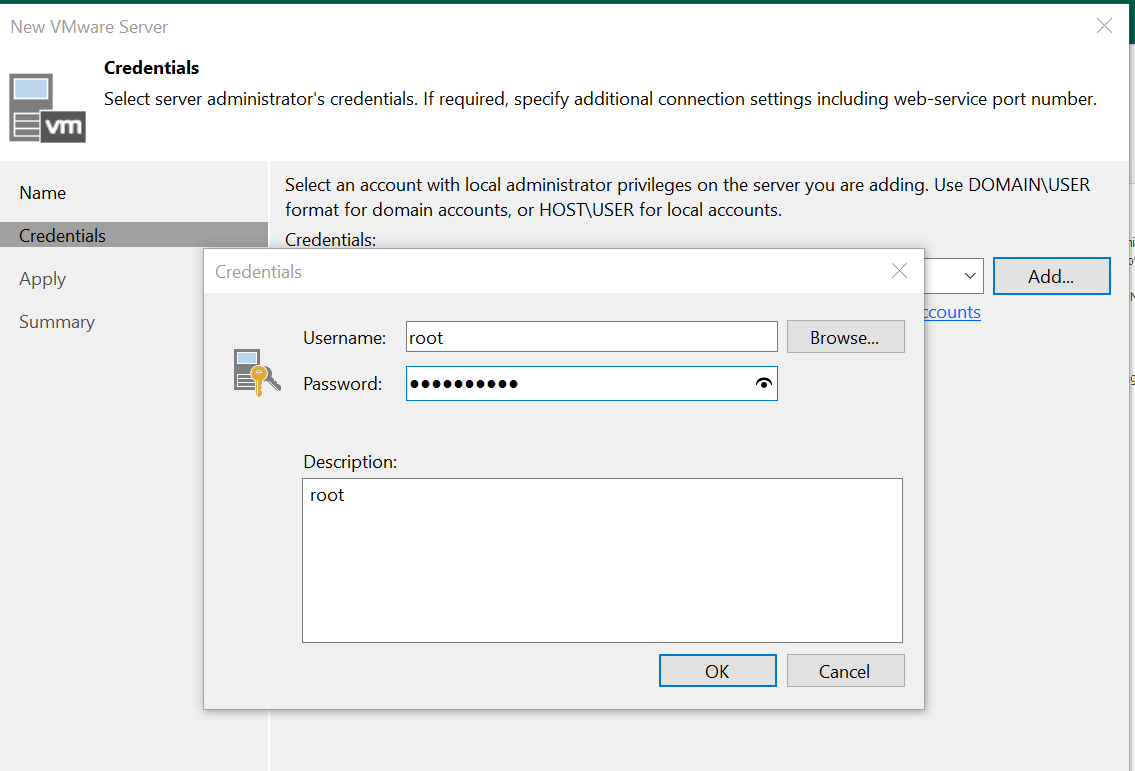
In the Credentials wizard, you can add the login credentials by clicking Add button and enter the credentials.
Click Apply and continue if any certificate alert arises.
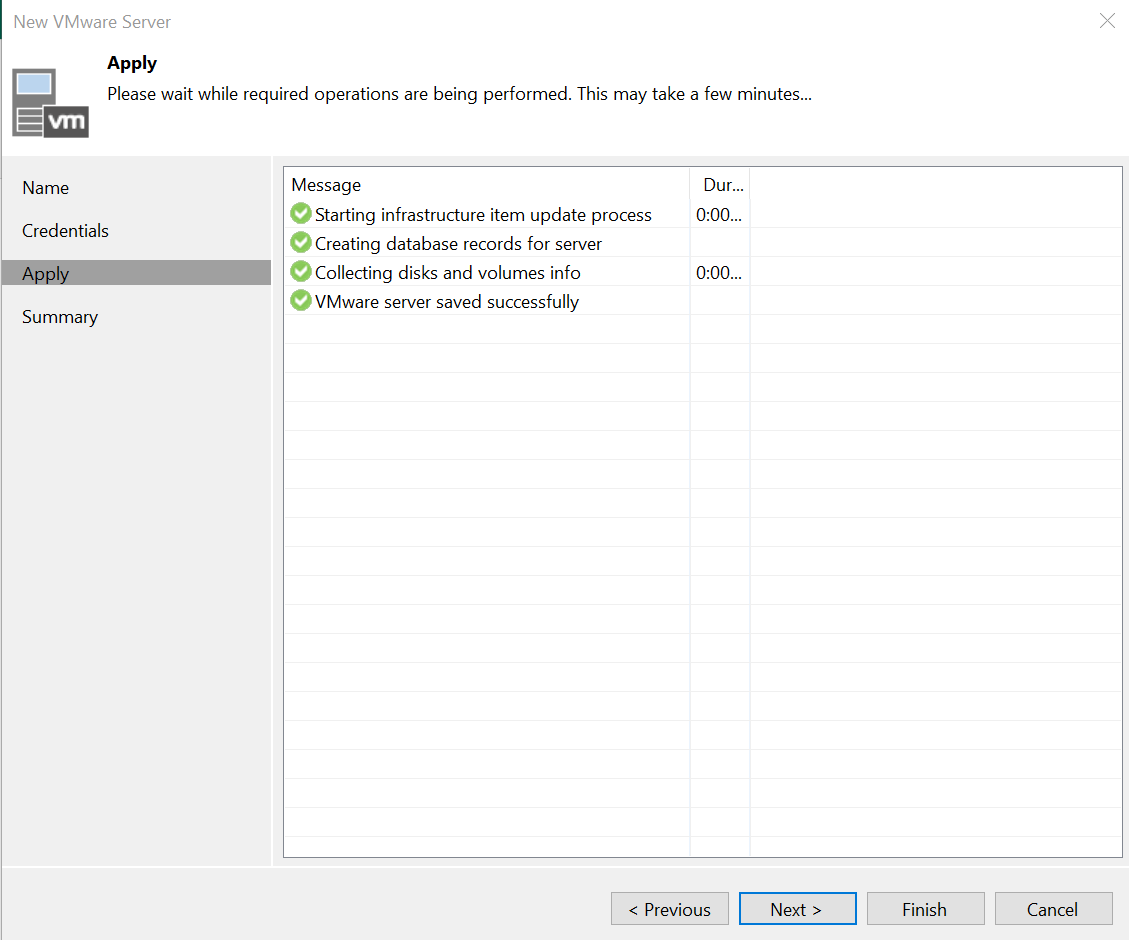
Click Next to view and check the configuration summary.
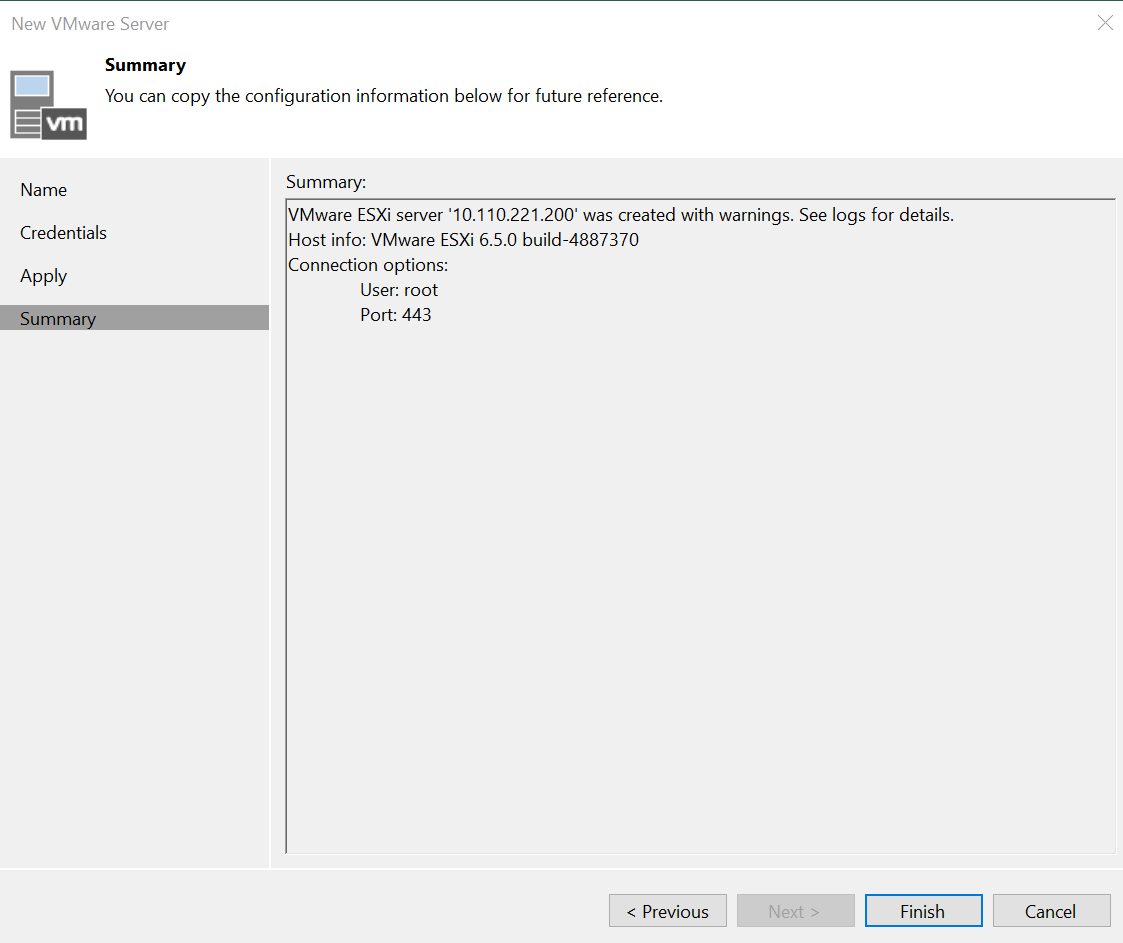
Click Finish to add the infrastructure to the inventory.
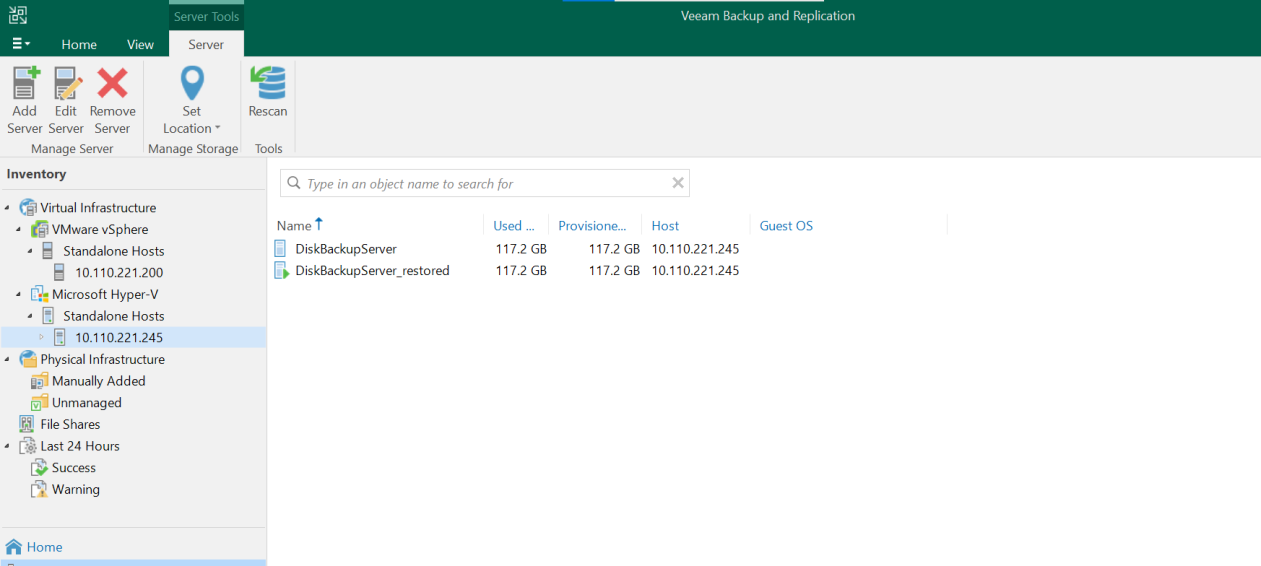
Similarly, you can add the Microsoft Hyper-V server to the inventory, by providing the “Name or IP address”, selecting the “Type” such as Microsoft SCCM or Hyper-V Cluster or Standalone host, provide the “Credentials” and complete the wizard.
Backup
Select Home and click Backup Job → Virtual Machine → VMware vSphere.

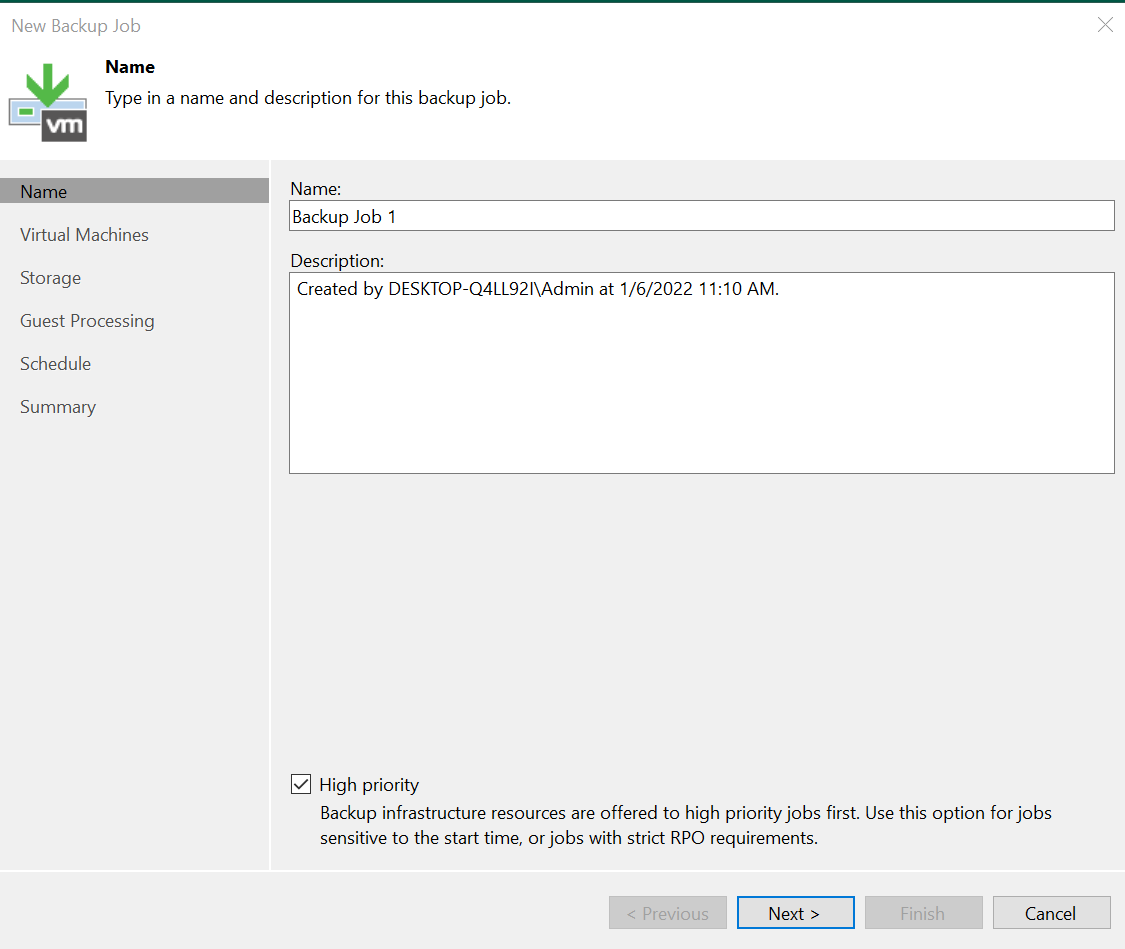
The Backup job will be opened. Enter a name and description for the backup job and click Next >
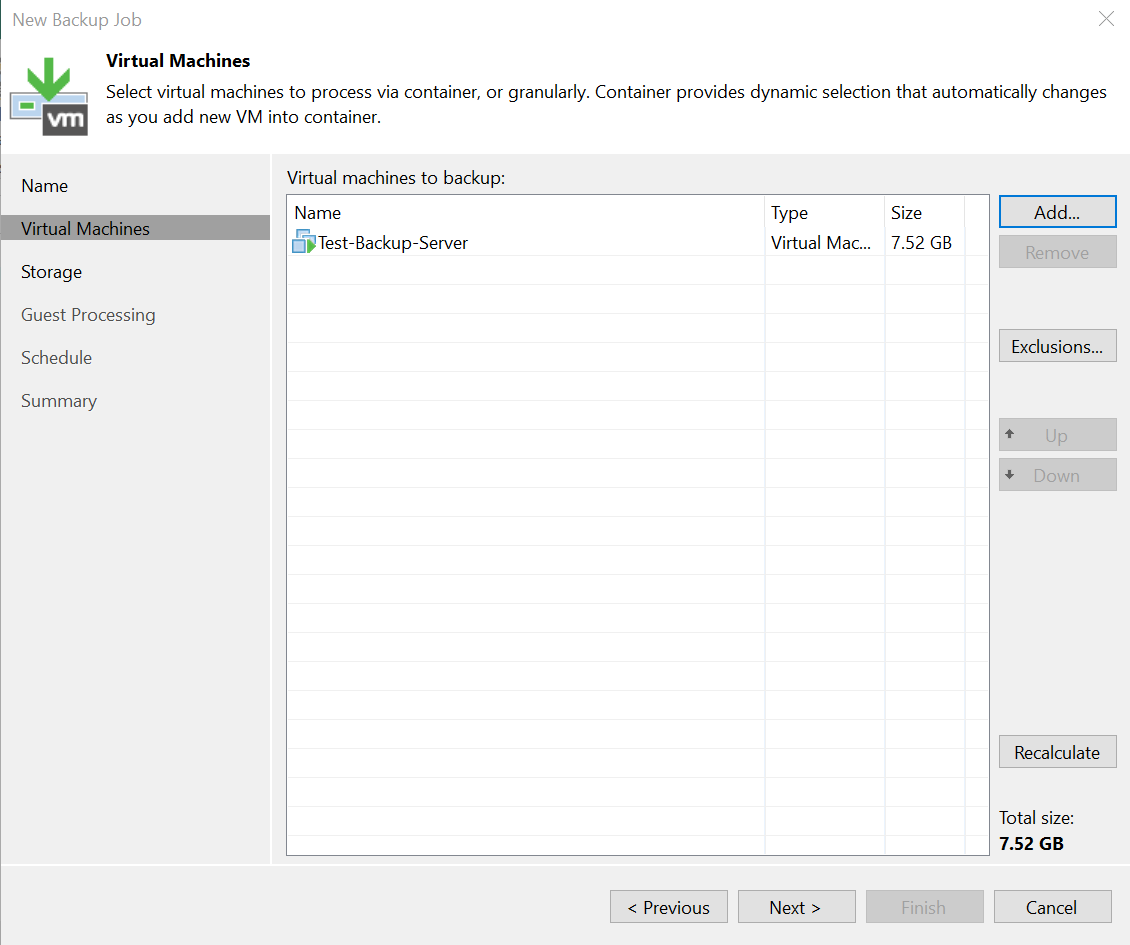
In the Virtual Machines, click Add and select the cnMaestro server to be backed up and click Next >
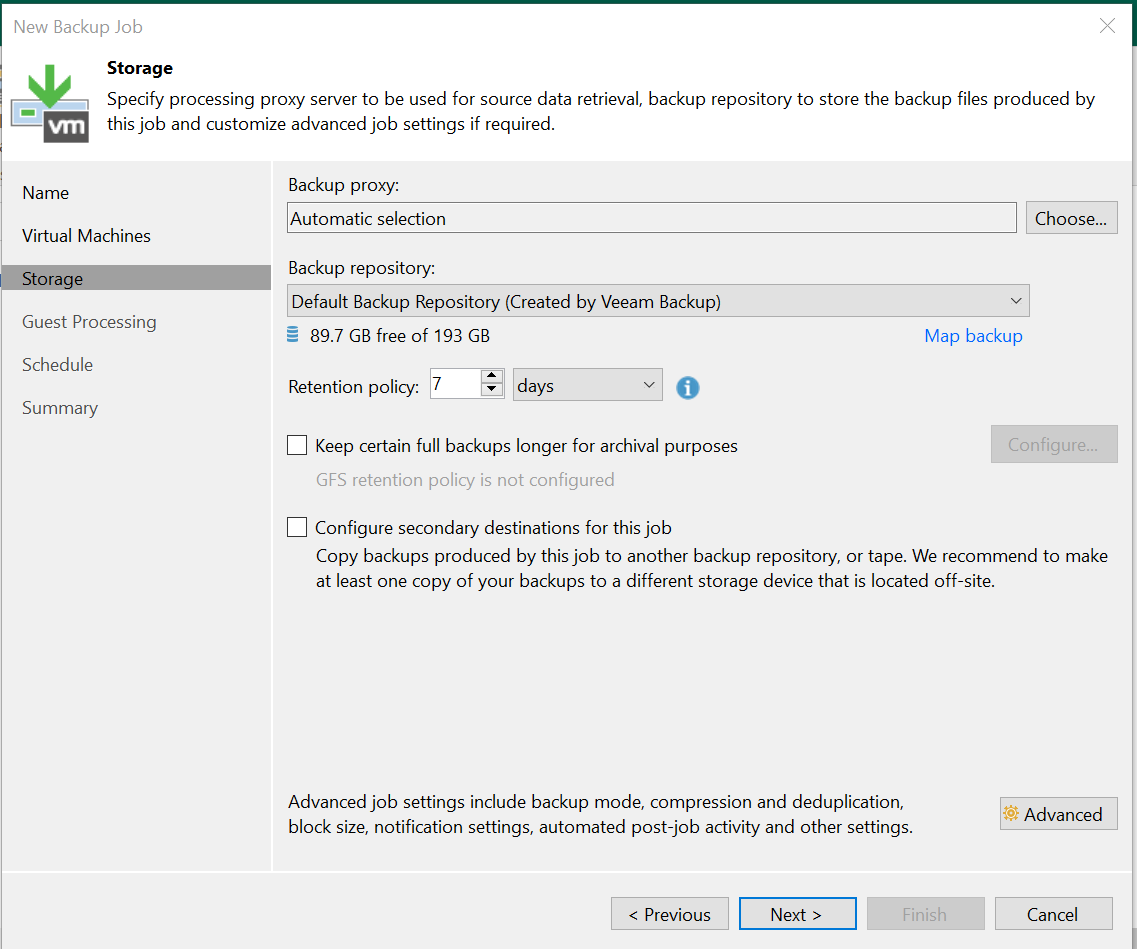
In the Storage wizard, select the Backup Proxy, Backup Repository, Retention Policy etc.
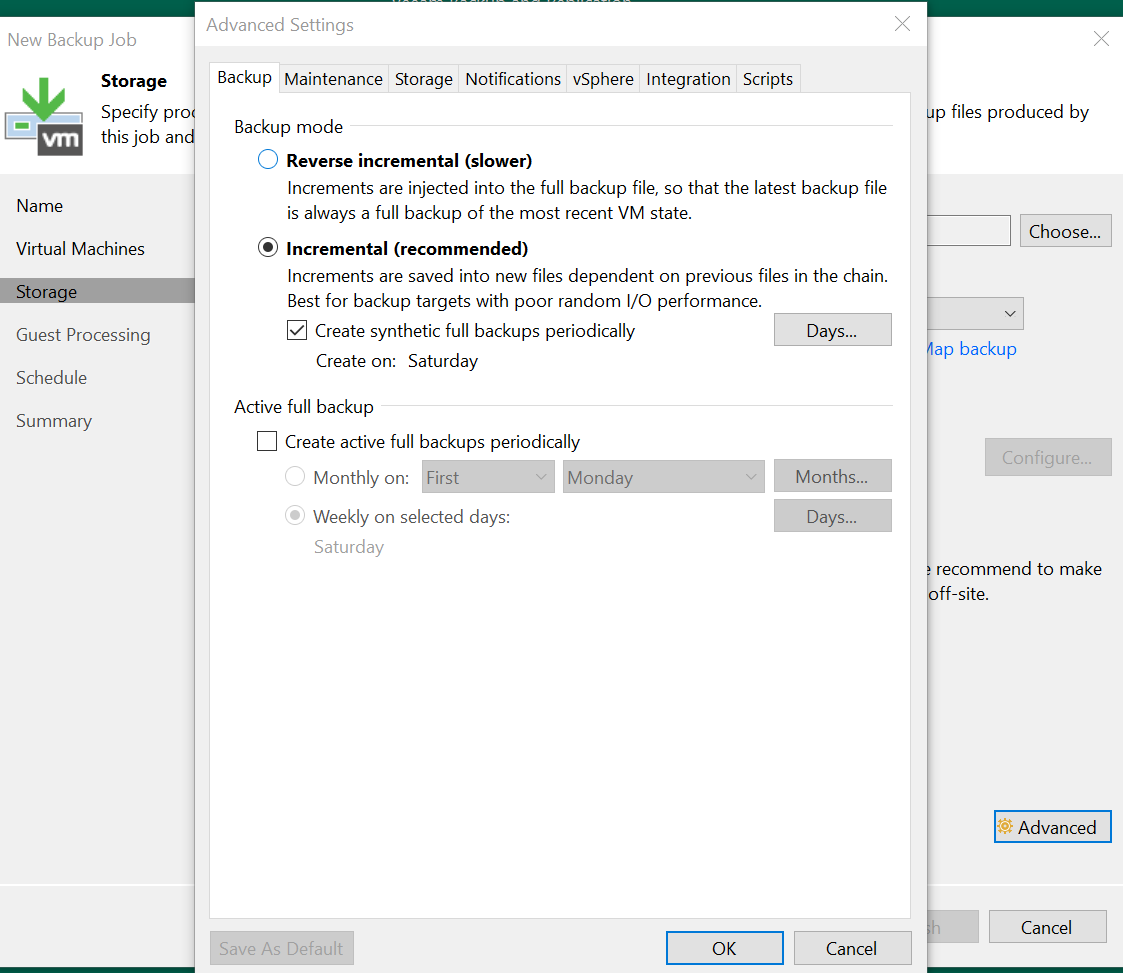
Click Advanced and you can select the Backup mode settings. Click OK and Next > to continue.
In the Guest Processing wizard leave the settings as default and click Next >

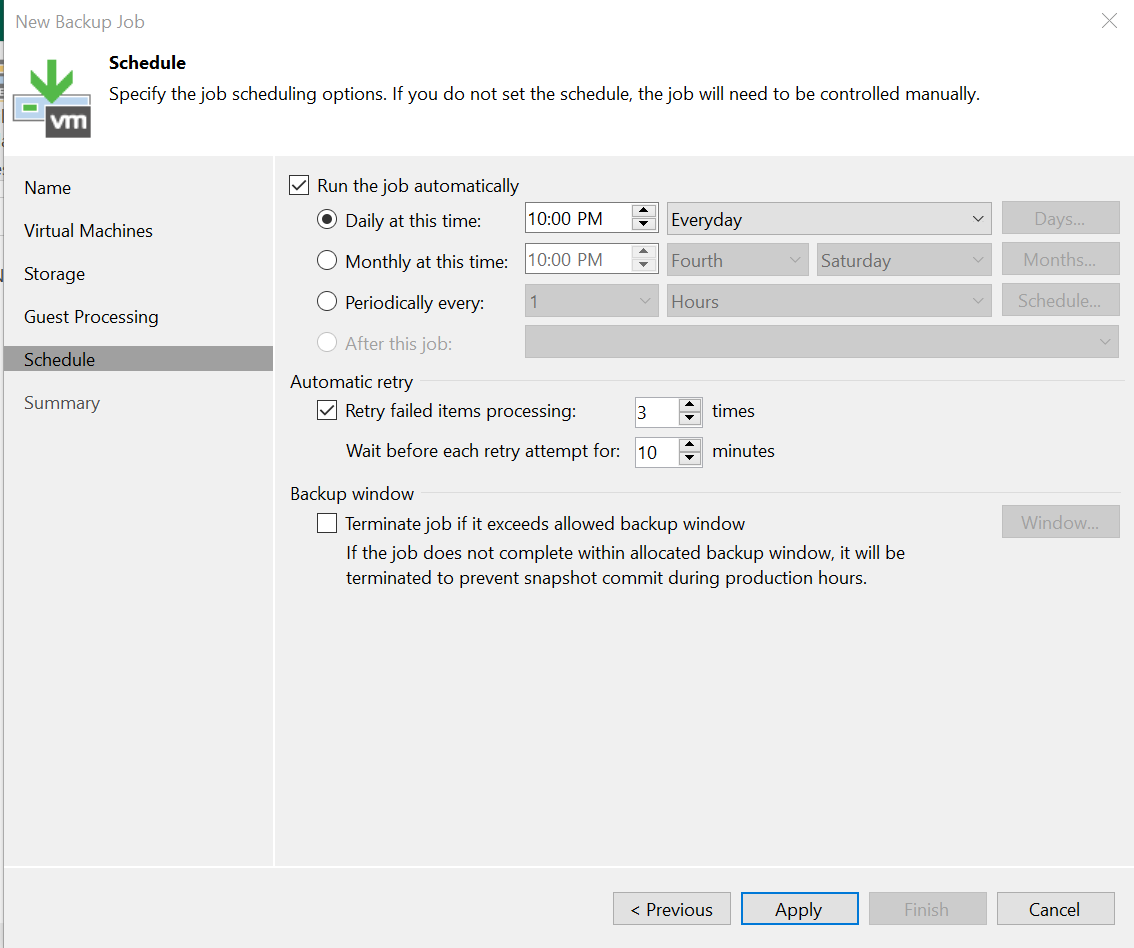
In the Schedule wizard, schedule the backup time and click Apply.
In the Summary window, you can see the summary. You can also select the checkbox if we want to run the backup job immediately. Click Finish to create the backup job.

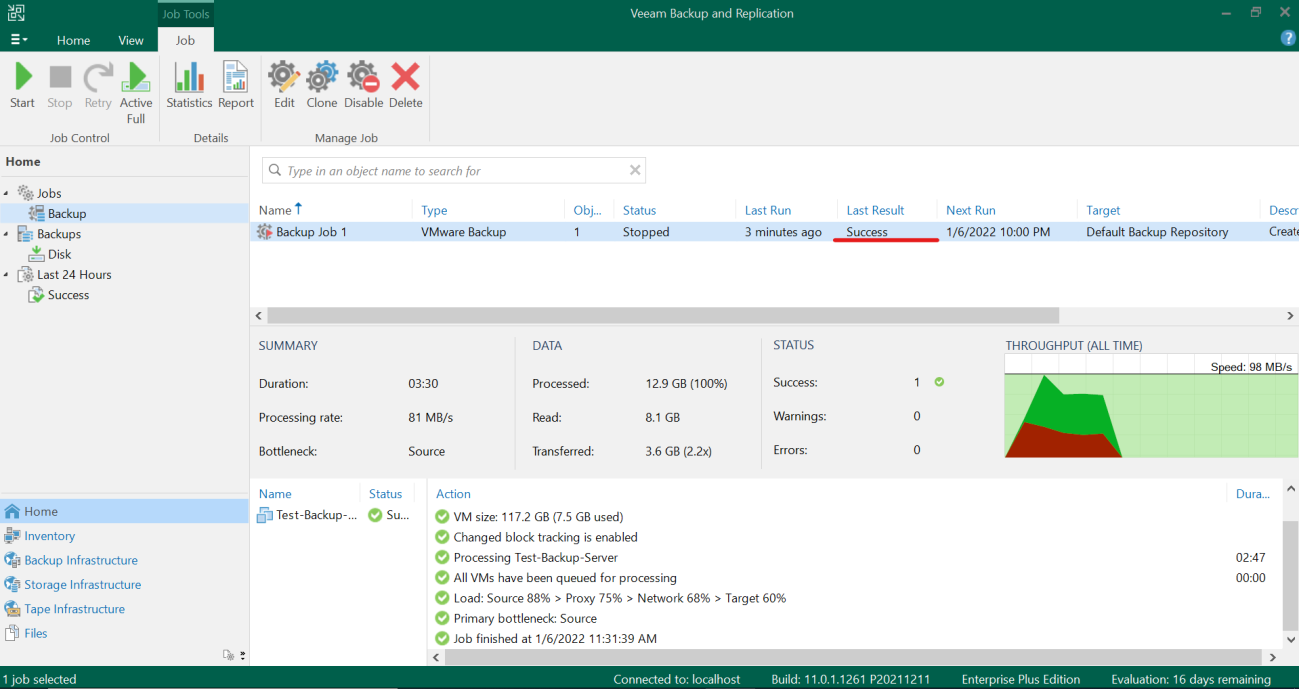
Once the backup job is created, you an check the job status by clicking the job name. It will show the progress and its status.

Once the job is completed, you can check that the backup succeeded using the “Last Result” column in the job details.
Restore
Restoring the Disk to another VM
Prerequisite
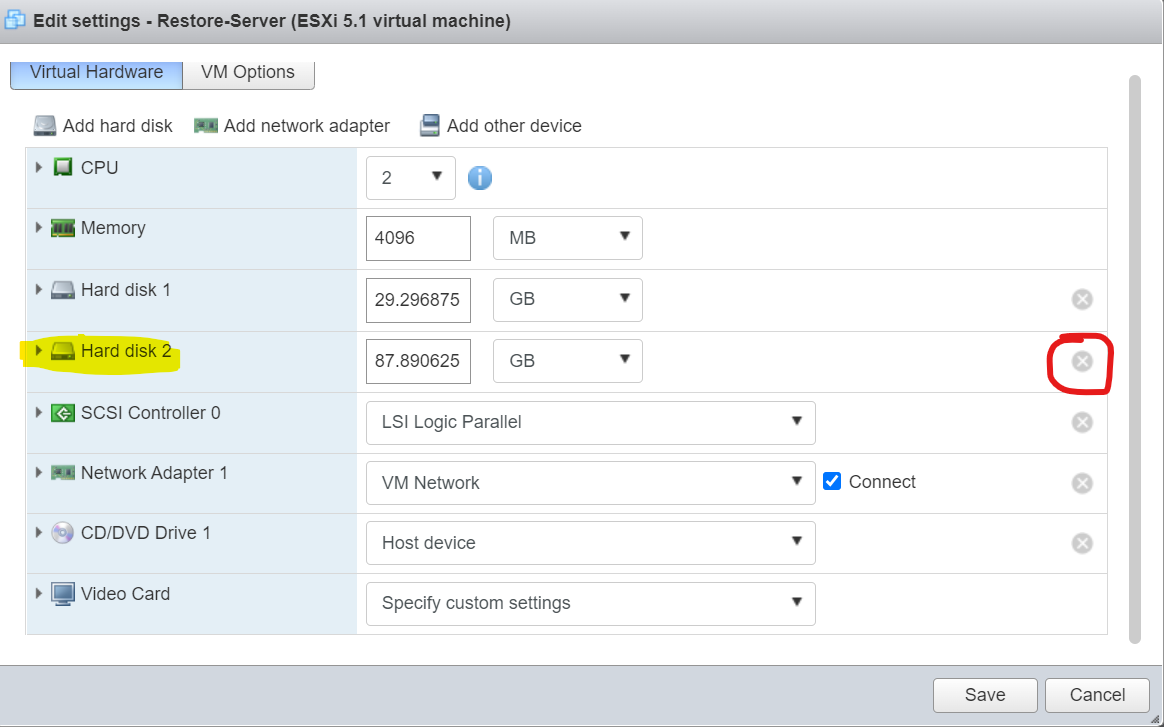
Create a new cnMaestro server using OVA deployment in VMware. Once OVA is deployed, Power off the VM which was deployed. Go to Edit Settings and delete the data disk (Disk 2) and click Save.
Attaching the disk using Veeam
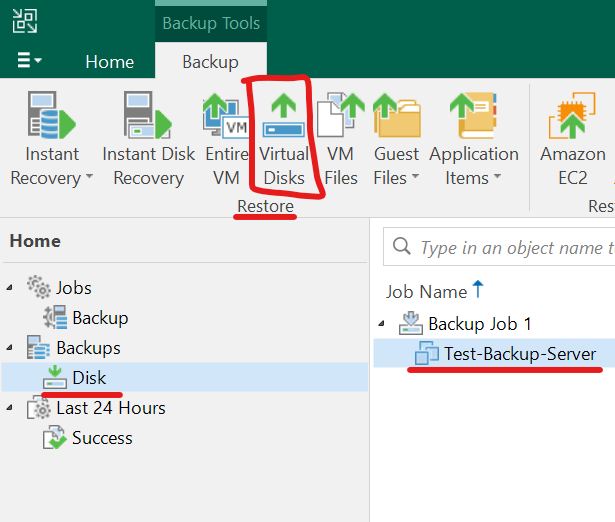
In the Home tab, under Backups, select the Disk from the left pane. In the right pane, click and expand the Backup Job name which you had created and select the cnMaestro VM. Click the Virtual Disks Restore option in the Menu as shown below.
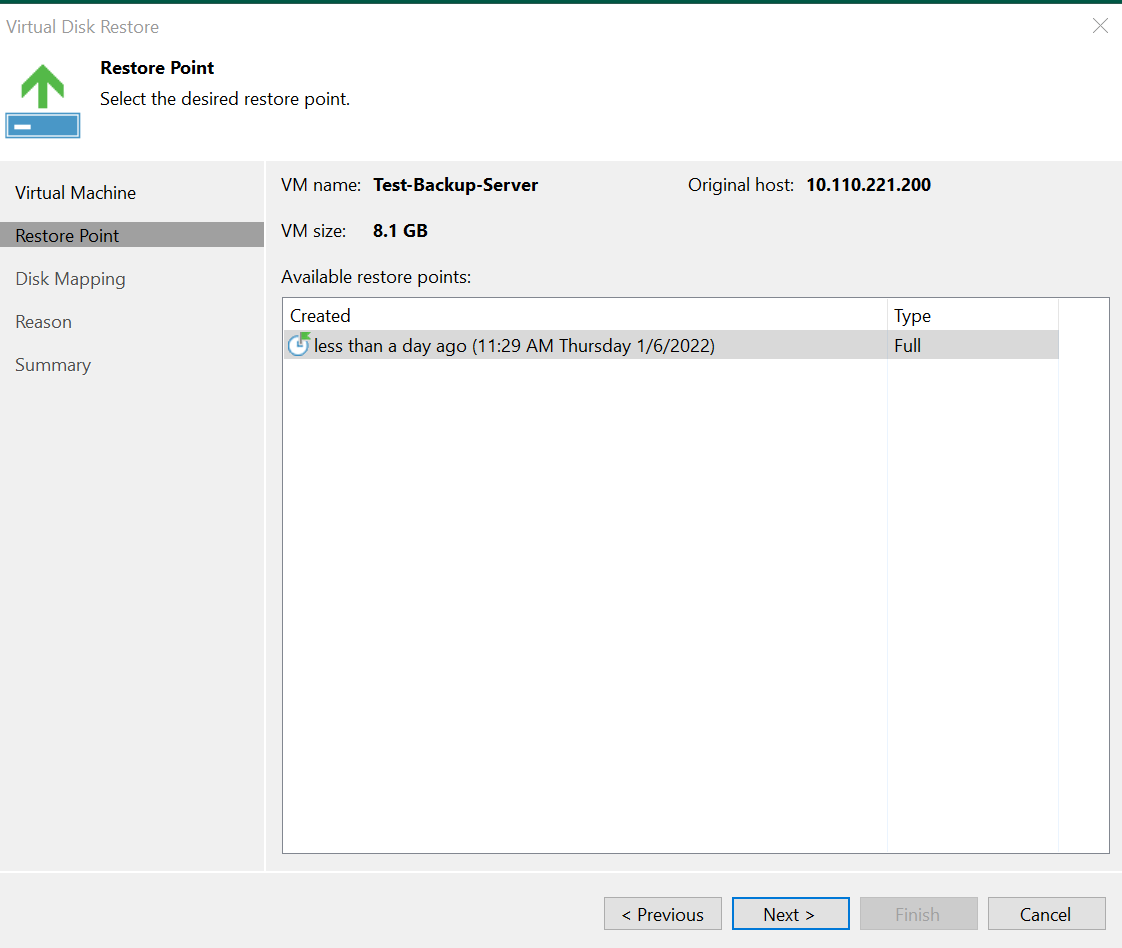
Select a restore point to use and click Next >
In the Disk Mapping wizard choose the Virtual Machine which you created in the Prerequisite step, and then select the second Virtual Disk (.vmdk file). This will usually be SCSI 0:1 or {{ your VM name }}_1.vmdk

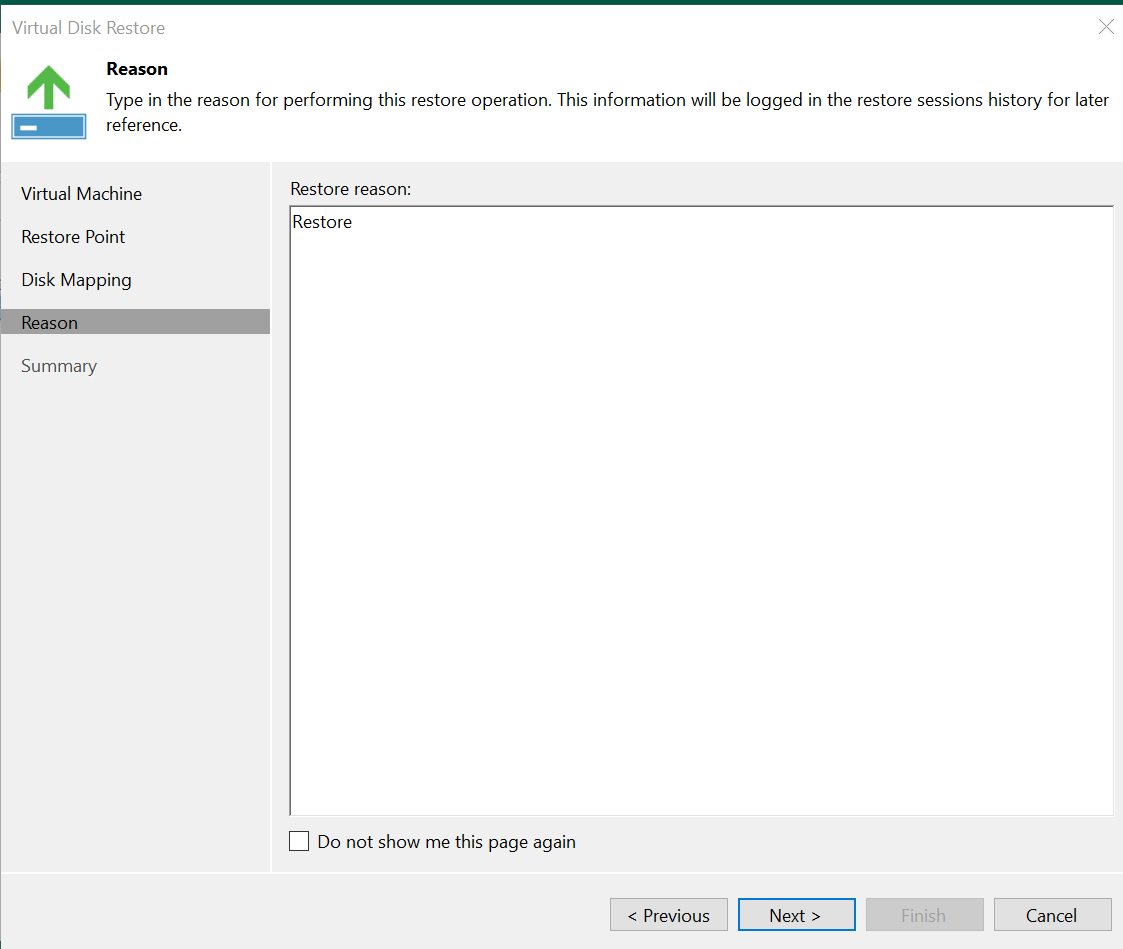
Provide text for the restore reason input and click Next >
In the Summary page, ensure that the checkbox for “Power on target VM after restoring” is disabled and click Finish.

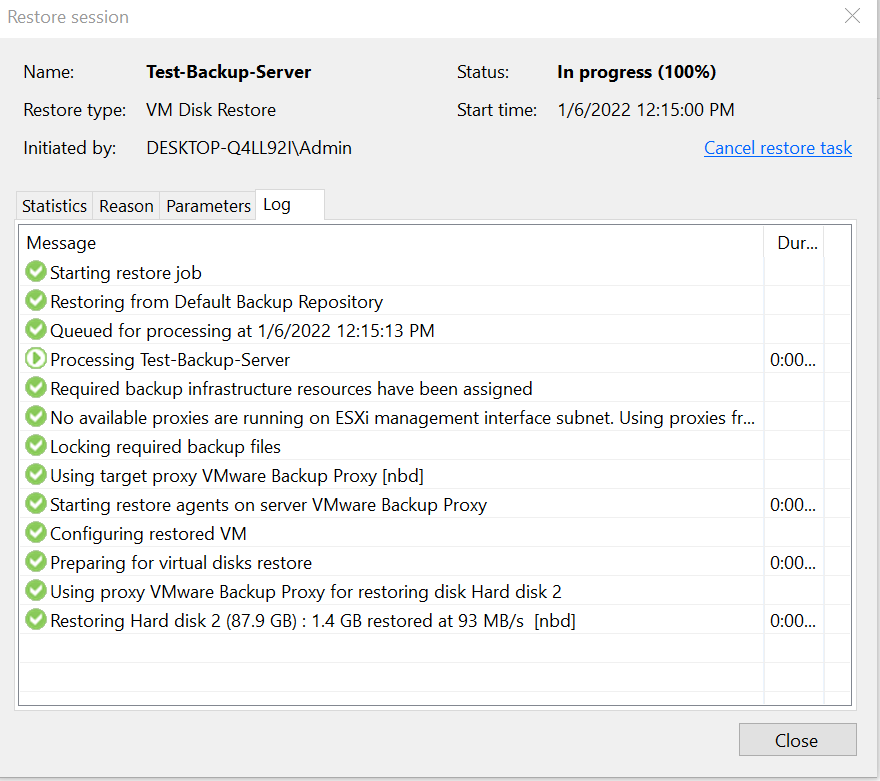
Once you click Finish the restore job will start and show progress.
Once the Restore is completed, ensure that the disk was attached in the cnMaestro server using VMware console. Power ON the new restored VM and Power OFF the backed up VM.
Restoring the entire VM to another VM
In the Home tab under Backups, select the disk from the left pane. In the right pane, click and expand the backup job name and select the cnMaestro VM. Click the Entire VM Restore option.

In Virtual Machines, select the machine which you have backed up and click Next >

In Restore mode, select the option “Restore to a new location, or with different settings” and then click Next >

In the Host wizard, select the host which was backed up and click Next >

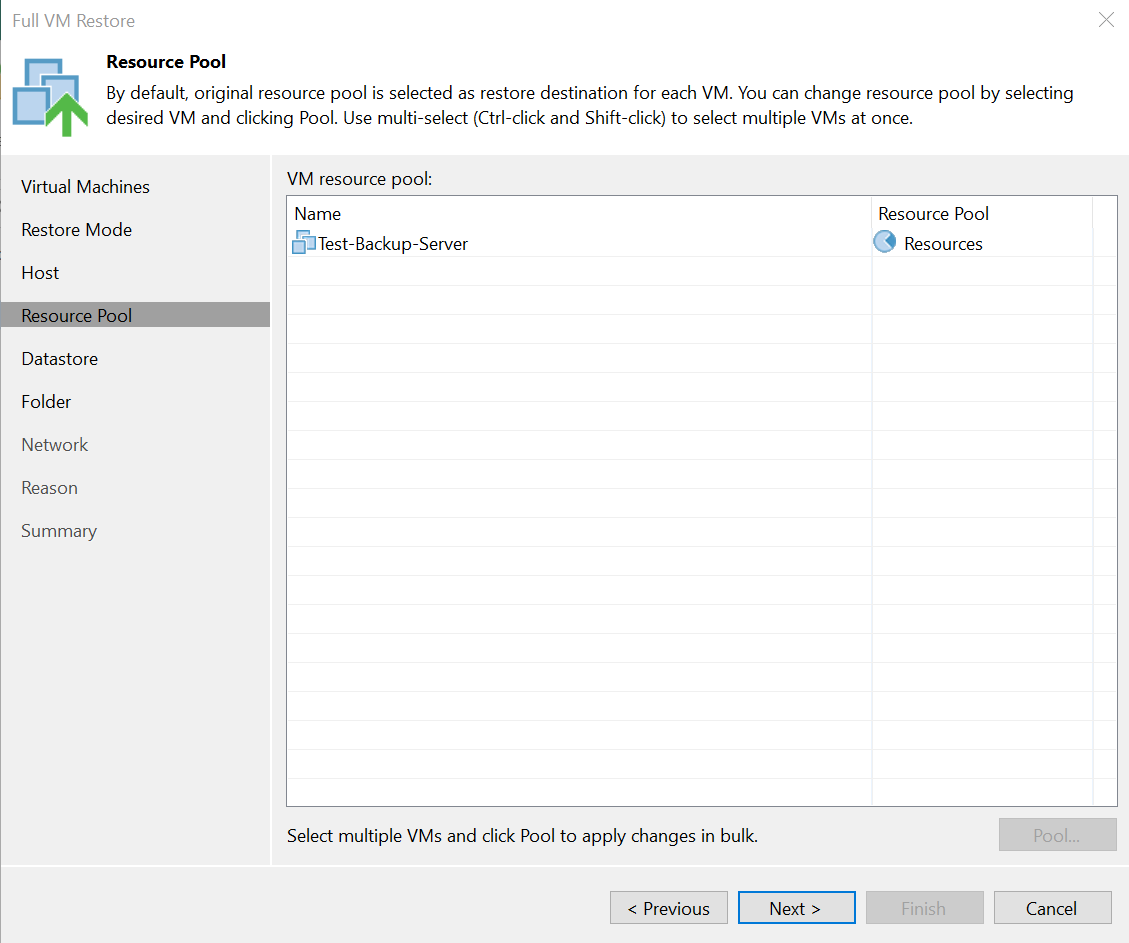
Select the Resource Pool and click Next >
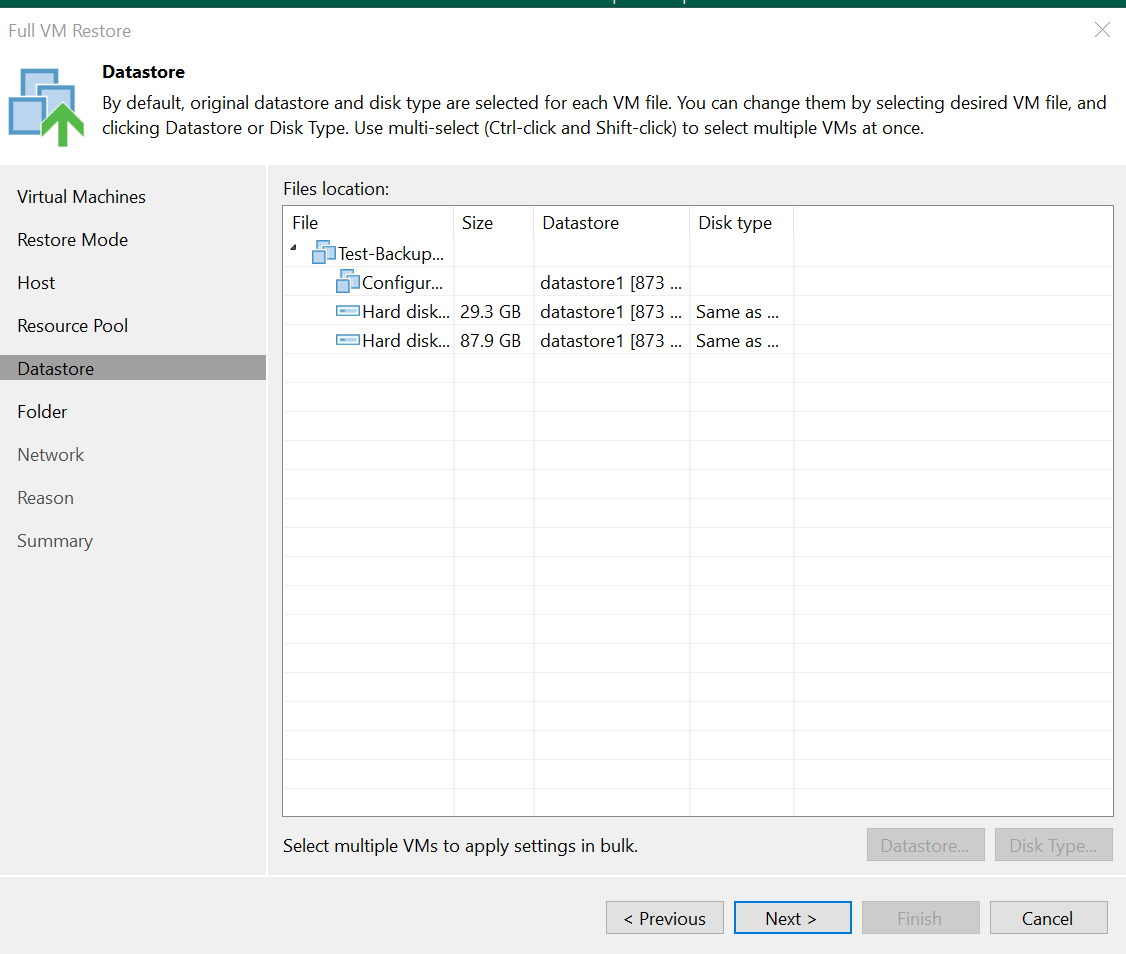
In the Datastore wizard, select the datastore and click Next >
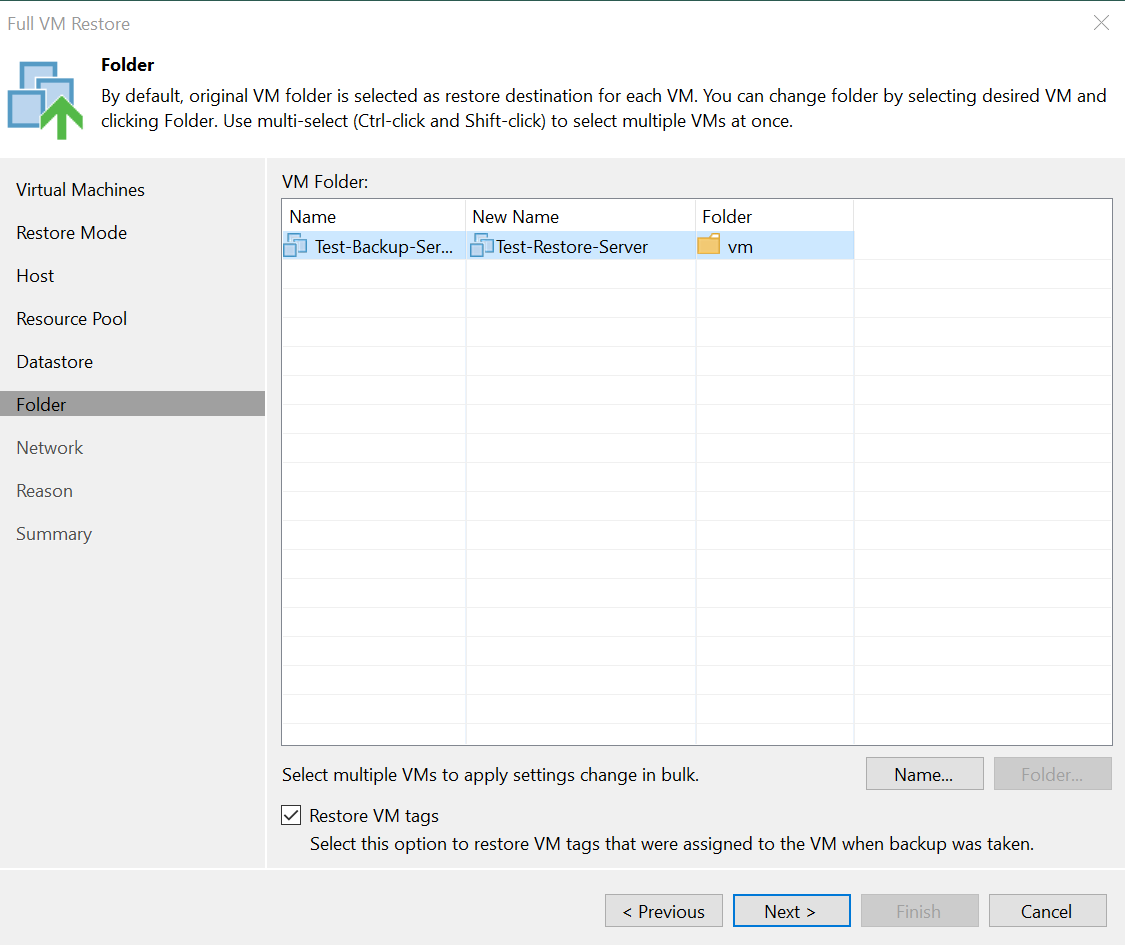
In the Folder wizard, select the Name and click the Name button to change the name of the new restoring server. If you are restoring to the same resource pool you may want to use a different name to the original. Click Next > to continue.

Select the Network for the VM and click Next >

Enter the Reason for the restore and click Next >

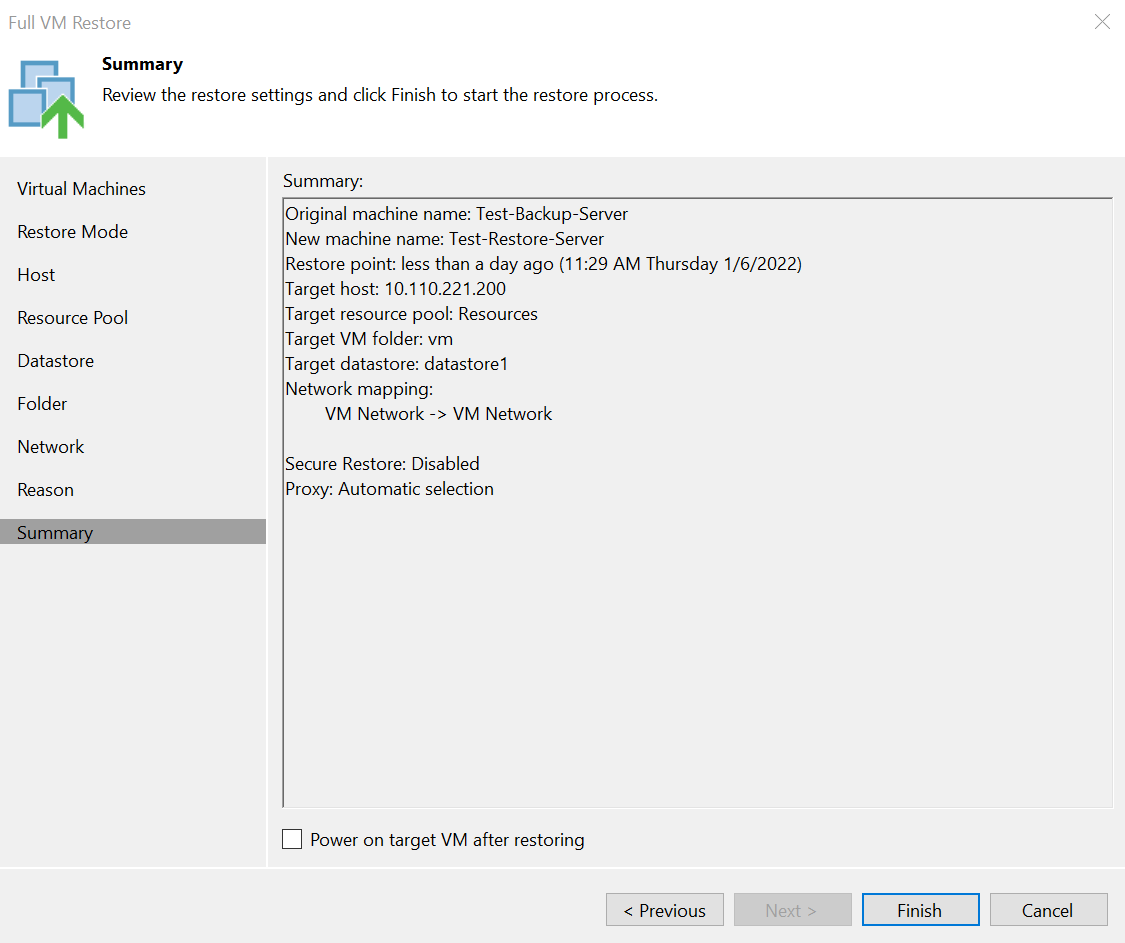
In the Summary wizard, ensure that the checkbox for “Power on target VM after restoring” is disabled. Click Finish to start the restore process.
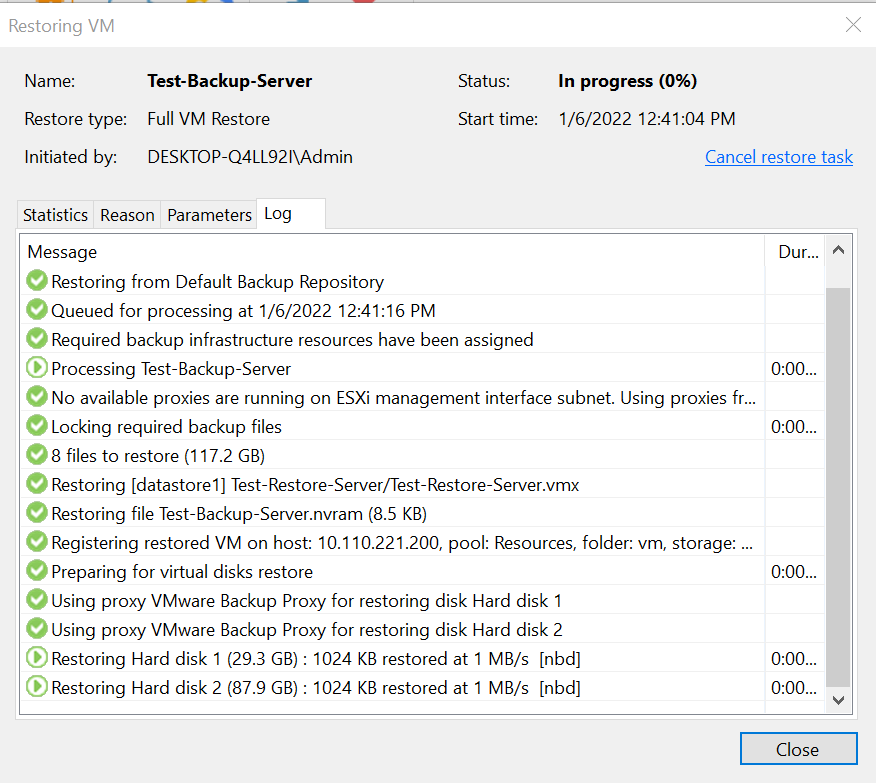
You can view the progress of the restoring job.
Once the restore job is completed, ensure the new VM is created in VMware. Power ON the newly created/restored VM and Power OFF the existing backed up VM.
Backup & Replication of cnMaestro server running on Windows Hyper-V is similar to VMware. The restore of a VM in Hyper-V supports only Full VM restore.