From cnMaestro 3.1.0 release, we support Full Backup using a backup software. Vinchin Backup Software can be used to backup the systems running on VMware, Microsoft Hyper-V and Citrix XenServer/Citrix Hypervisor.
This article describes the detailed procedure on how to create backup and replicate the cnMaestro server using Vinchin Backup solution. If you use Veeam, please see this article instead:
Prerequsites
Vinchin Software must be installed and running.
In a browser, enter the URL of the Vinchin server. At the login screen, enter your credentials and log in.

After login, the Home screen is displayed.

Navigate to Resources → Storage and click Add, then add the storage method that you are using. The newly configured storage will be displayed after configuration:

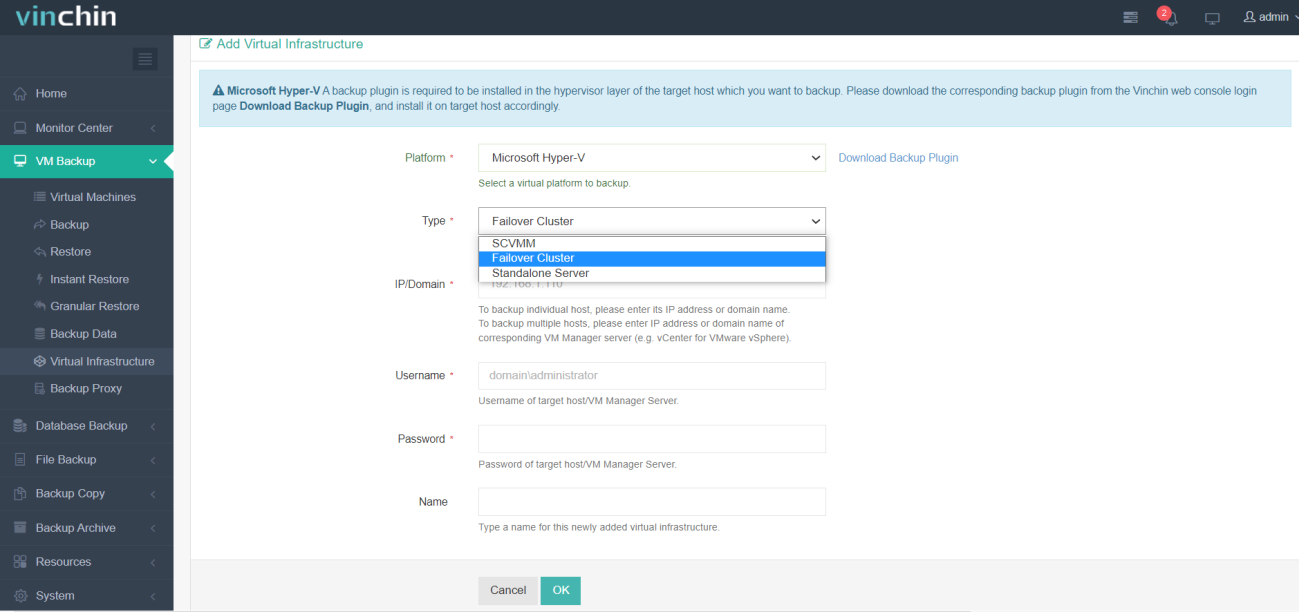
To discover infrastructure to back up, select VM Backup from the left menu, select Virtual Infrastructure and then click Add. From the Platform dropdown, select the virtualization infrastructure (such as VMware vSphere/ Microsoft Hyper-V/ Citrix XenServer or Citrix Hypervisor) and provide credentials to discover.


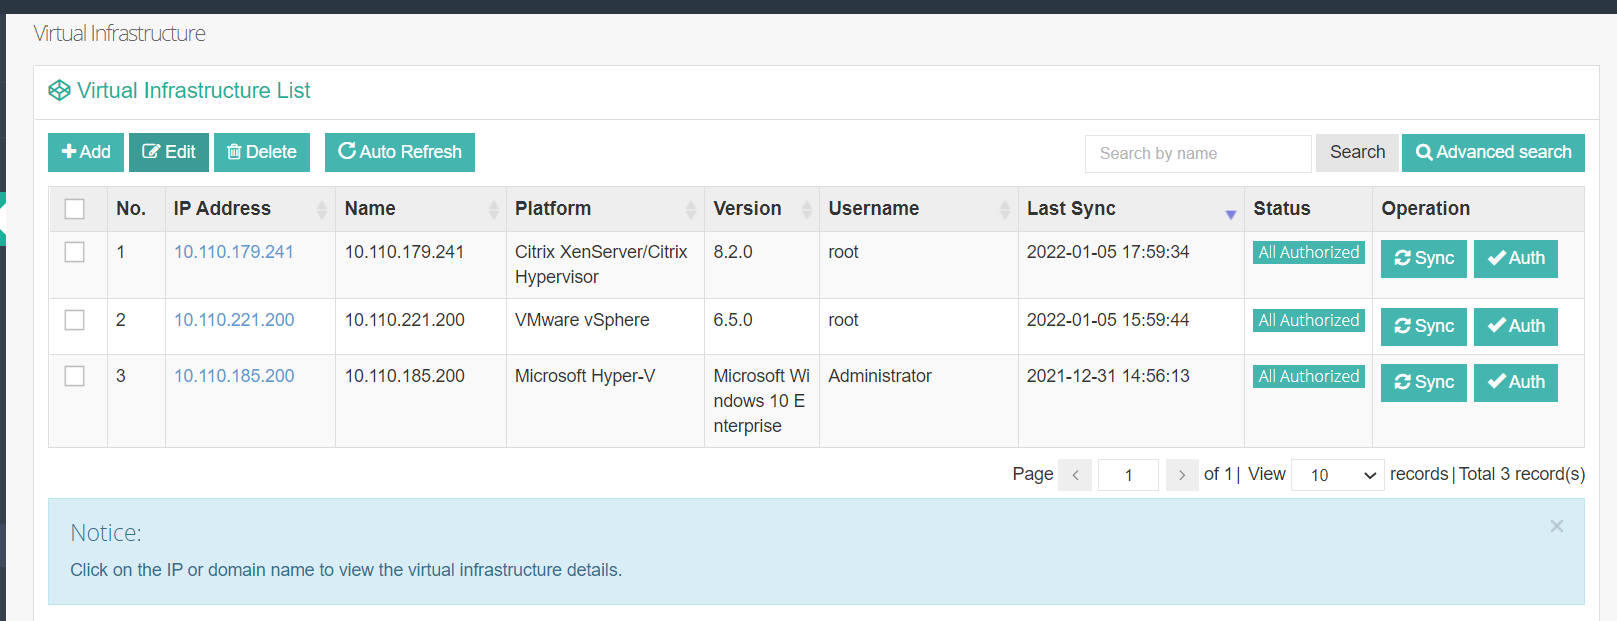
Once added, the list will be updated with discovery results:
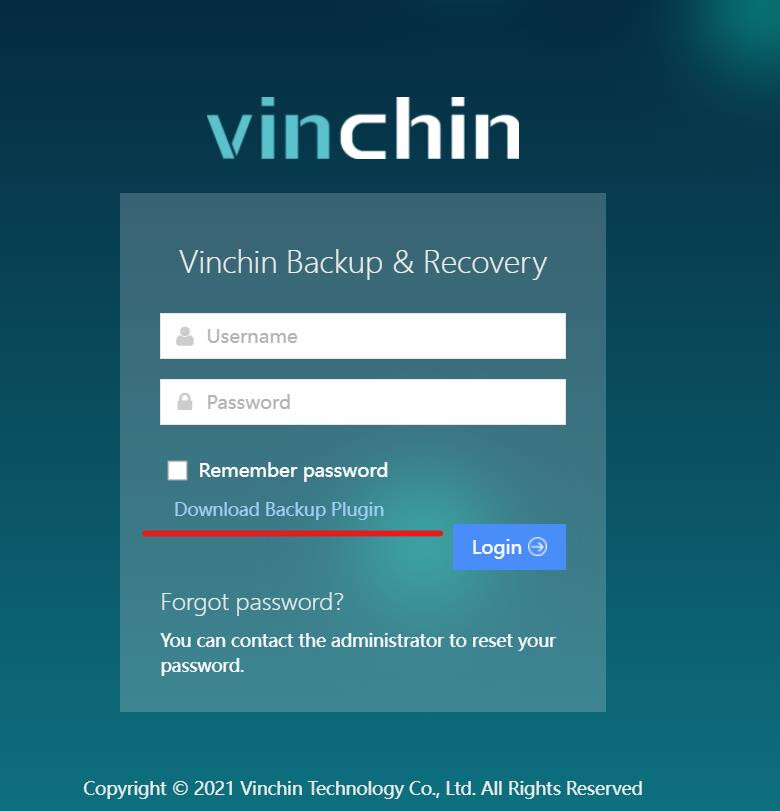
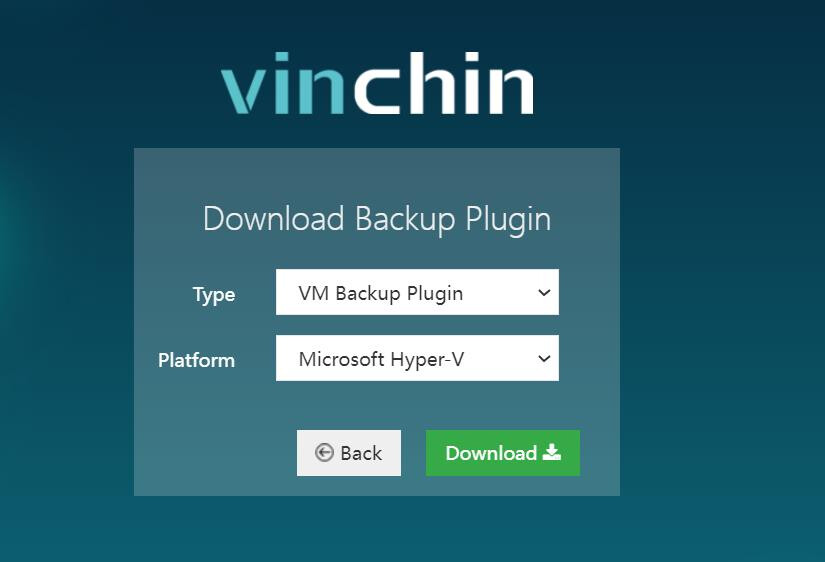
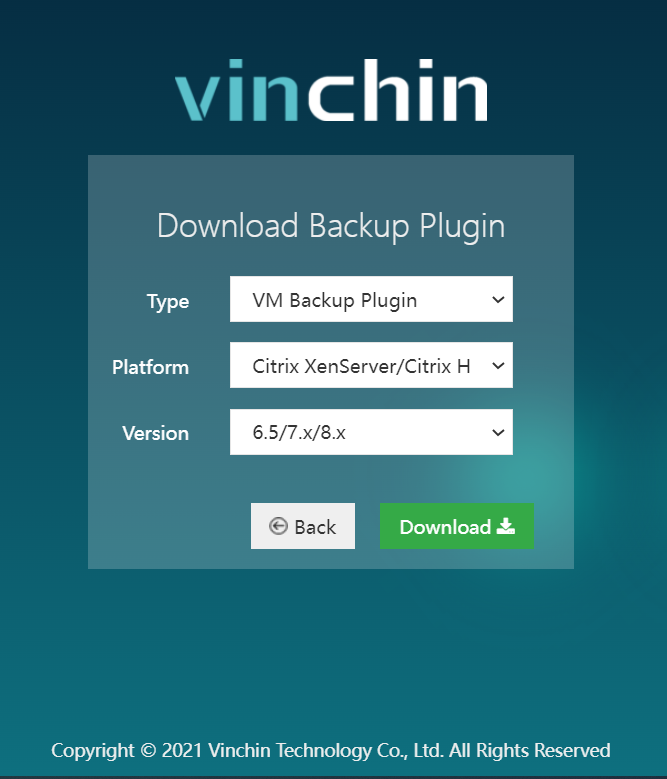
In case of Microsoft Hyper-V or Citrix Hypervisor/ Citrix XenServer, download the backup plugin and install in the VMs where cnMaestro is running. You can download the Backup plugin from the login screen of Vinchin.
Please refer to the Vinchin documentation on how to install the plugin:
Now you are ready to backup your cnMaestro server using Vinchin.
Backup
Let’s see an example of full VM Backup and full VM Restore of a cnMaestro server running on an ESXi server.
In the Vinchin interface, select VM Backup → Backup from the left side menu. The New Backup Job window will appear. Select the cnMaestro VM and click Next.

In the Backup Destination window, select the Target Node and Target Storage from the drop-down and then click Next.

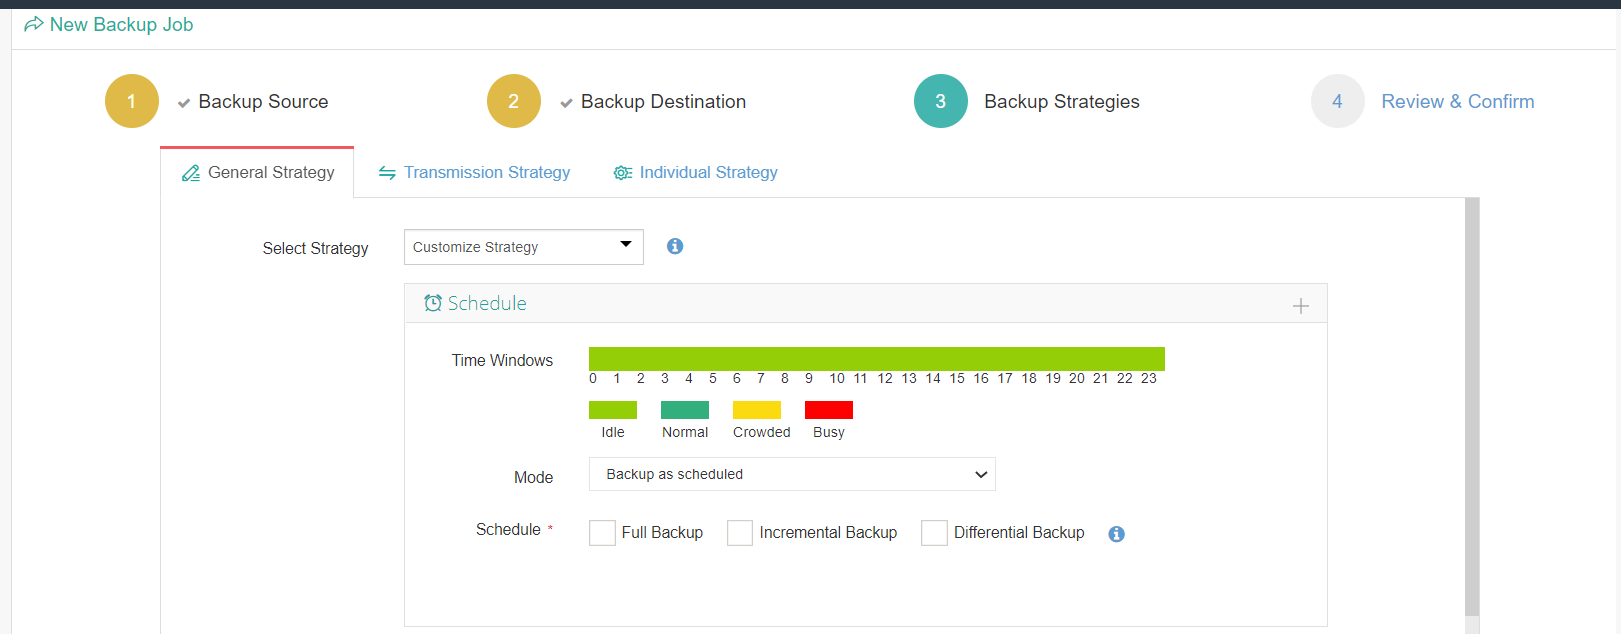
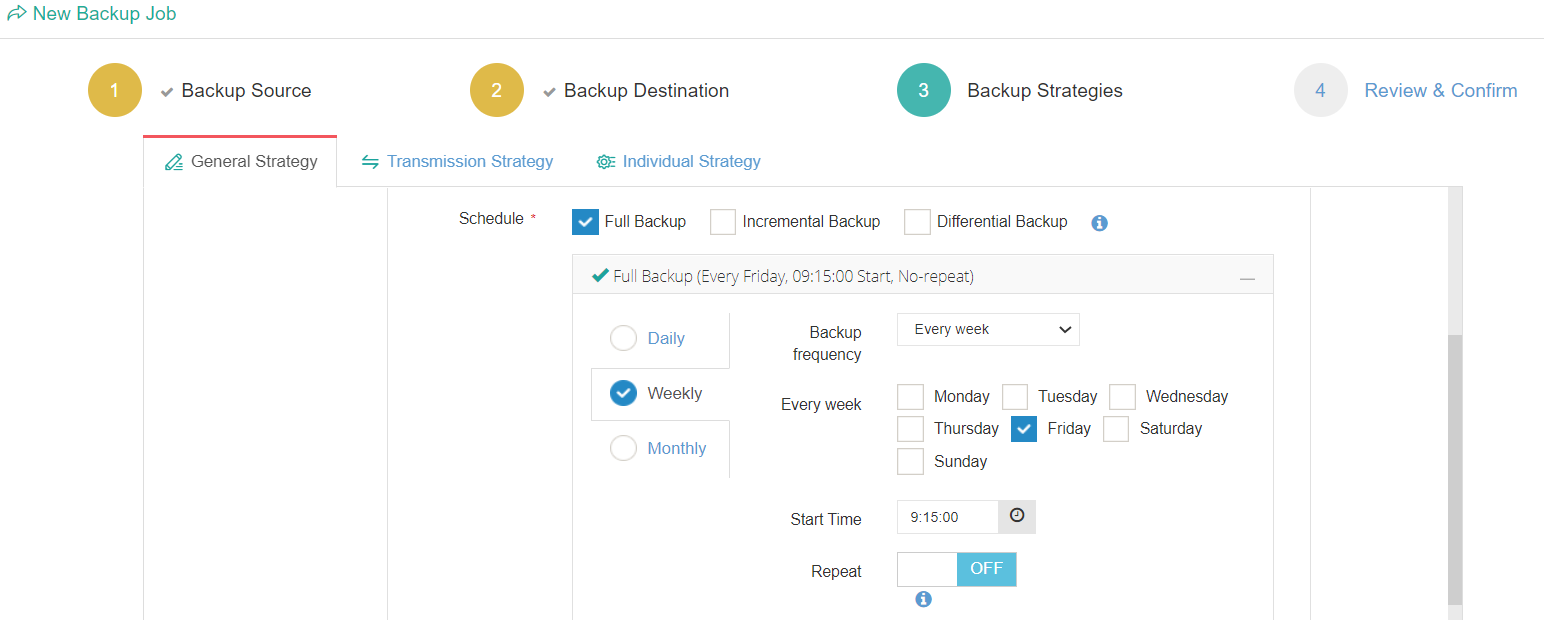
In the Backup Strategies window, schedule the backup by selecting the Mode and the Start Time. In the Mode drop-down, you can select “Once off Backup”, or “Backup as scheduled”. You can schedule the backup either as Full Backup, Incremental Backup or Differential backup and select the frequency and time. If required change the options under Data Storage Policy, Retention Policy and then click Next.
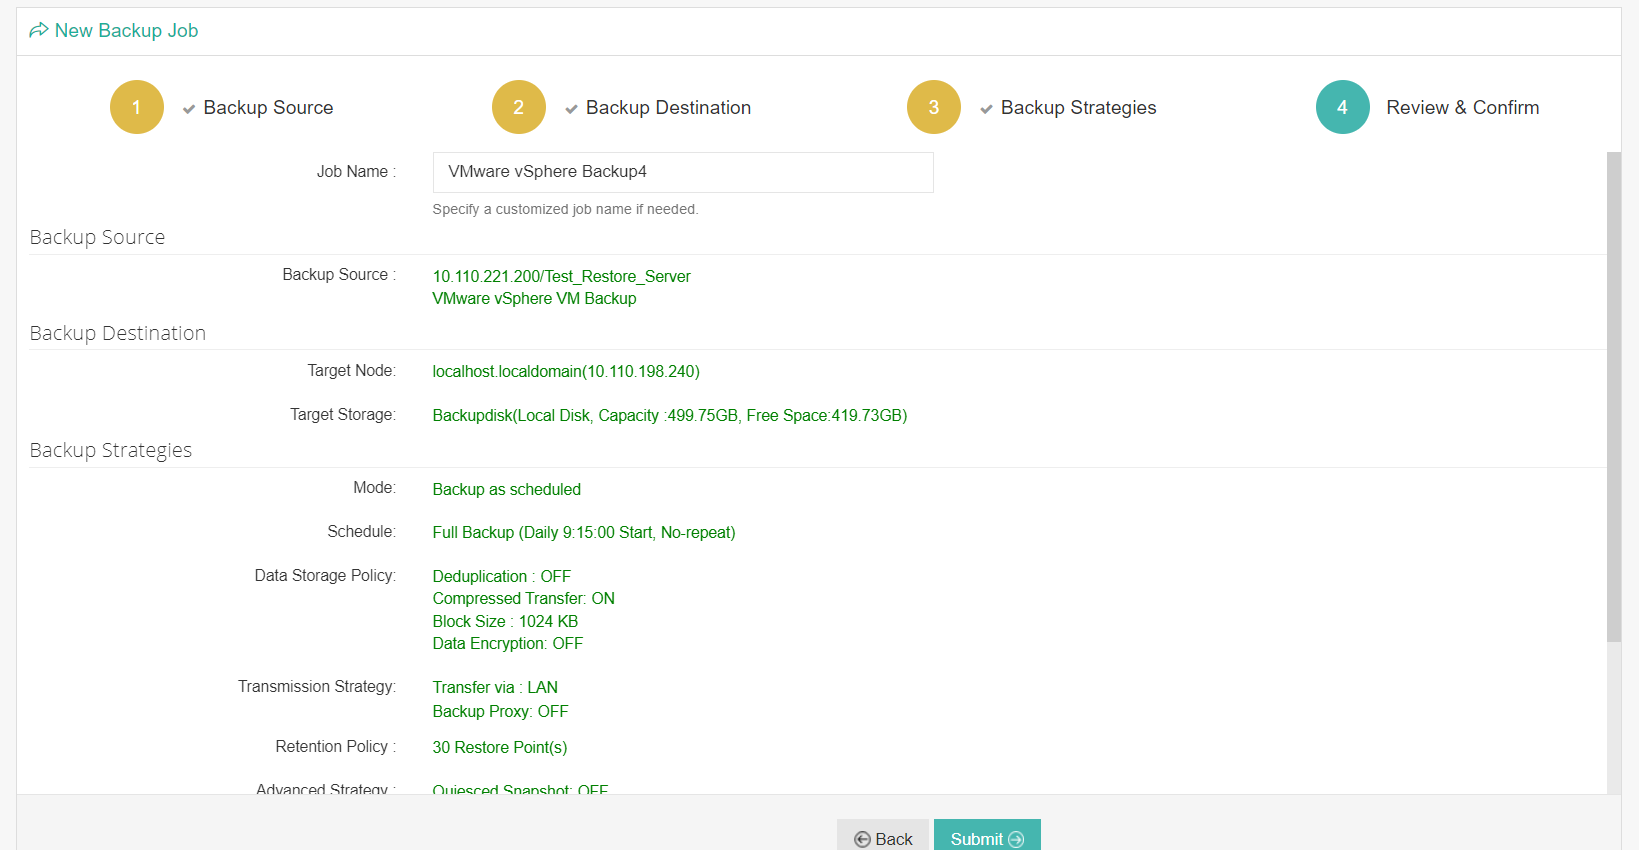
In the Review & Confirm page, review the selection and click Submit. Once submitted, the backup job will be scheduled.
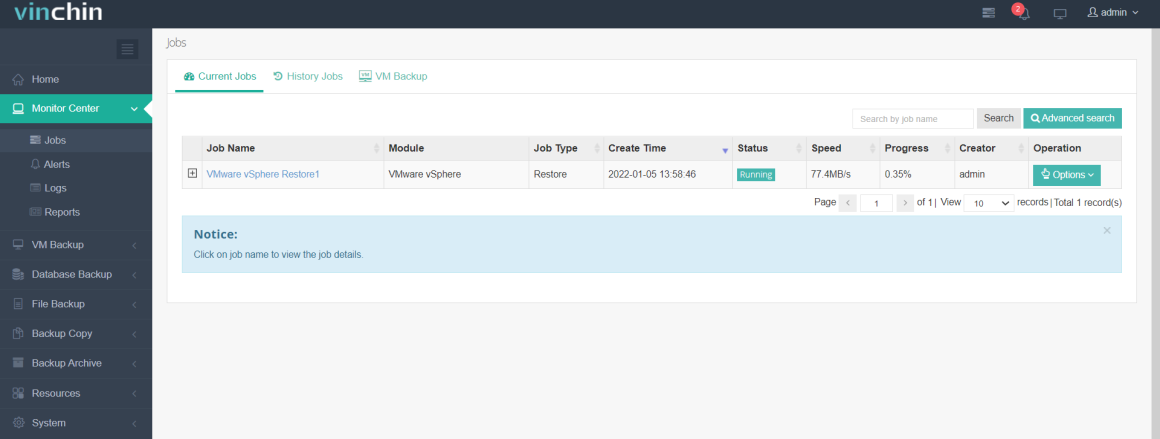
Jobs can be viewed in the Monitor Center → Jobs → Current Jobs
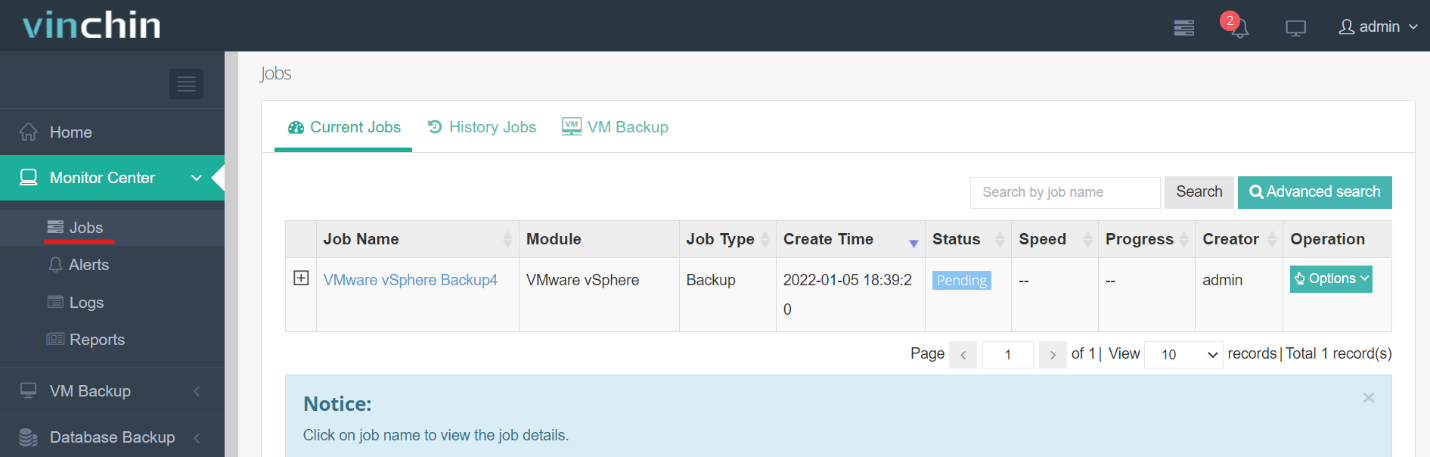
Click the Job Name to see the progress of the job while the job status is running.

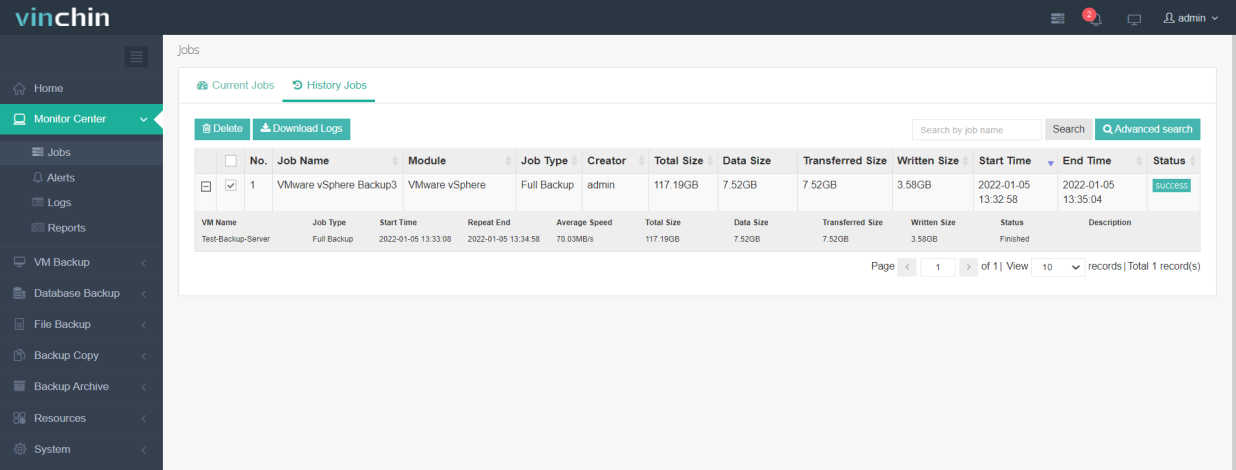
Once the backup job is completed, you can check the status on the Monitor Center → Jobs → History Jobs.
Restore
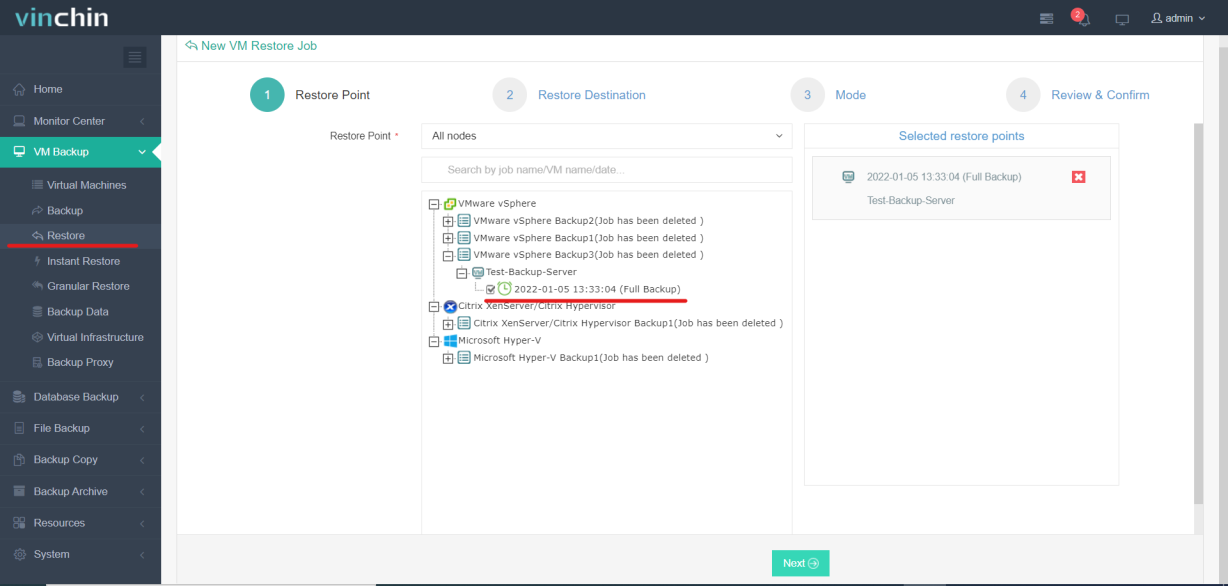
Select VM Backup → Restore to create a New VM Restore Job. In the New VM Restore Job window, select the Restore Point from the VM to recover.
In the Restore Destination page, select the Target Host. Expand the VM Configurations, and in General tab, you can modify the Name of the new server, CPU, RAM, Network etc., if needed. Ensure that the “Power on the VM after restoring” is selected as OFF.

In the Mode page, select the Schedule as Once off Restore and click Next.

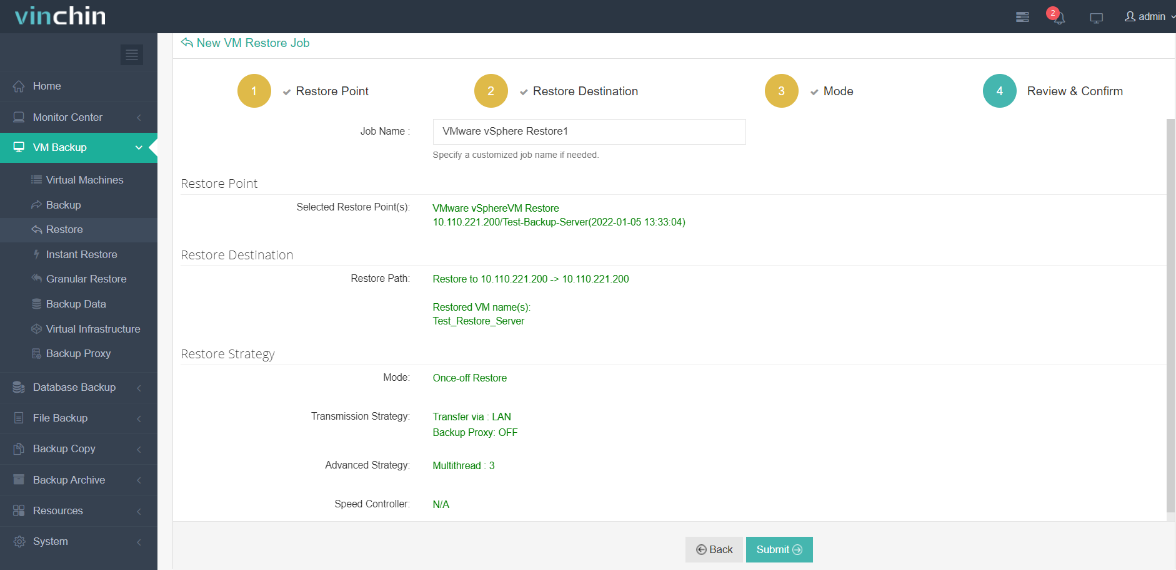
In the Review & Confirm page, review the selection and click Submit.
A Restore Job will have been created. You can view the job under Monitor Center → Jobs → Current Job.
You can monitor the restore job progress by clicking the Job name.

Once the restore job is completed, you can check under the Monitor Center → Jobs → History Jobs.

Confirm the new server has been created on the VMware host. Power OFF the existing backup VM and then Power ON the newly created restored VM.
Backup and restore of cnMaestro server running on Microsoft Hyper-V / Citrix XenServer or Citrix Hypervisor will follow the same steps as VMware.