Installing cnMaestro on Proxmox

While not officially supported, cnMaestro on premises runs fine on the Qemu/KVM-based Proxmox system. Here’s how to get it running:

Import cnmaestro OVA into proxmox

NOTE: you can also just untar the ova file locally and upload the vmdk files, then attach these to a new vm. Using the importovf method is a bit quicker, but the end result is the same.

  • scp or use another method to get the ova file available on the proxmox server
  • Untar the ova file downloaded from https://support.cambiumnetworks.com
    • tar xvf cnmaestro*.ova cnmaestro-on-premises_5.0.0-r5_amd64.ovf
  • We’ve now got some files extracted:
    • .ovf: The vm metadata for import
    • .mf: integrity check to make sure our files arent corrupted - not needed here
    • .vmdk: disk files in vmware’s vmdk format
    • .tar.gz: additional validation file - not needed here
  • Import the vm from the ovf file
    • Collect some info first:
      • Make sure we have AVX support on the host, without this we can’t go on:
        cat /proc/cpuinfo | grep -q avx && echo "AVX support detected" || echo "no AVX support in CPU, not installable here"
      • VM ID# - The VM ID to use, we can get the next available one
        VMID=$(pvesh get /cluster/nextid)
      • The storage the disks will live on - here we use lvm-disks
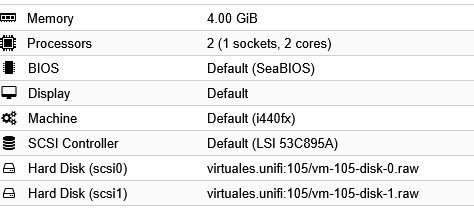
  • Now import the ovf file, which will also import the vmdk disk files
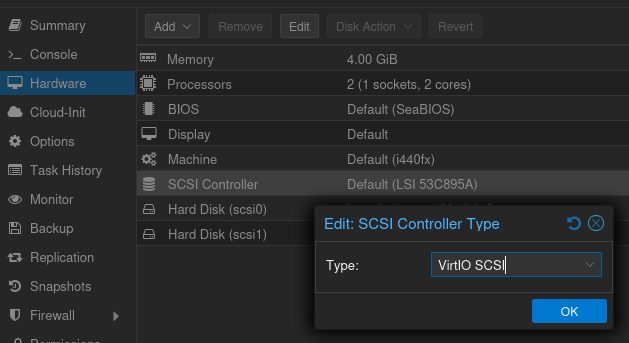
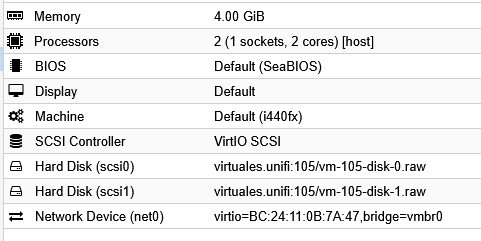
    qm importovf ${VMID} ./cnmaestro-on-premises_5.0.0-r5_amd64.ovf lvm-disks
  • In the gui, change the SCSI controller to Virtio SCSI
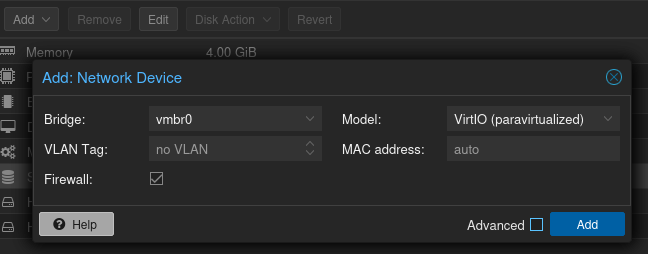
  • Add a VirtIO network interface, and connect to the correct bridge or network
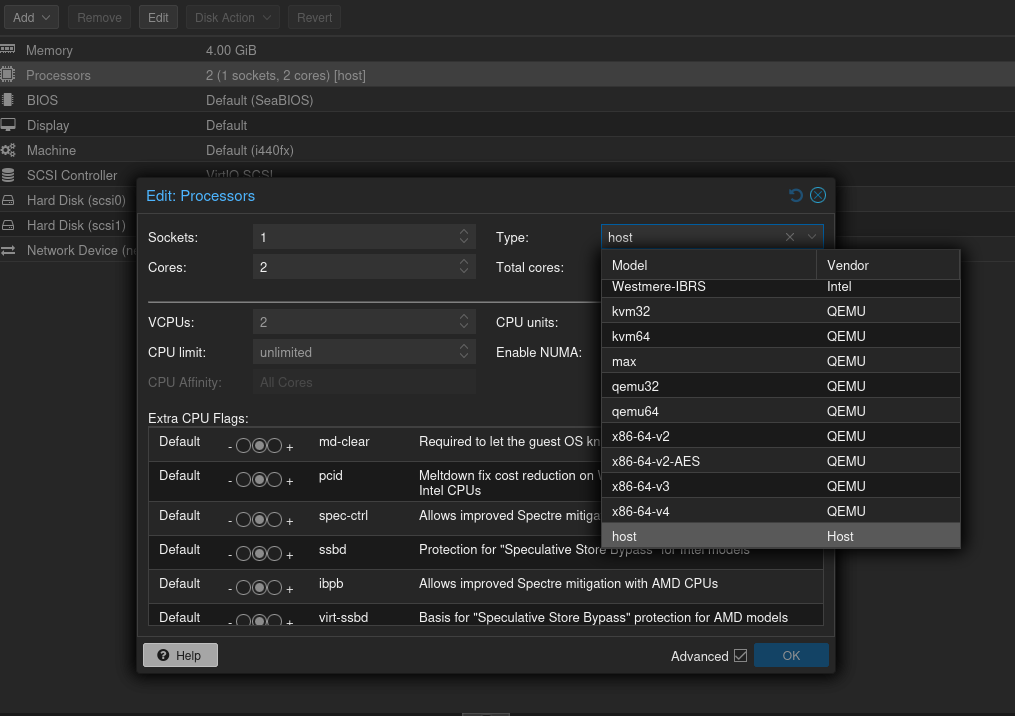
  • Set the CPU type to “host” - cnmaestro needs the AVX extensions
    • WARNING: this may break live migrations if your vm hosts have different CPUs. You may want to generate a custom CPU definition for your cluster if you are using different hardware: cpu-models
2 Likes

could you please open a support ticket in https://support.cambiumnetworks.com

Error

Untar the ova file downloaded from https://support.cambiumnetworks.com

  • tar xvf cnmaestro*.ova cnmaestro-on-premises_5.0.0-r5_amd64.ovf
Corrected

Untar the ova file downloaded from https://support.cambiumnetworks.com

  • tar xvf cnmaestro*.ova

I recommend

#qm list

To check if the cluster has enough space, I would use the command:

#df -h

The following shows the result of executing the command (extracting files from .ova):

#tar xvf cnmaestro*.ova

Import the .ovf file by creating virtual machine 105:

qm importovf 105 /disk_where_the_ovf_file_is_located/cnmaestro_on-premises_5.2.0-r3_amd64.ovf destination_drive

Rename the virtual machine as follows:

#qm set 105 --name Server-cnMaestro

result:

Adjust hardware and network:

qm set 105 --memory 4096 --cores 2 --sockets 1 --cpu host --scsihw virtio-scsi-pci --net0 virtio,bridge=vmbr0

result:

result:

Recommendations for /etc/fstab

step 1

root@cnmaestro:~# more /etc/fstab
UUID=abcdfg12-4321-4321-b123-898989898989 /boot           ext4    defaults        0       2
/dev/mapper/system-os1 /               ext4    noatime,errors=panic 0       1
/dev/mapper/system-os2 /mnt/os2        ext4    noatime         0       2
/dev/mapper/system-tmp /tmp            ext4    noatime,nodev,nosuid 0       2
/dev/mapper/system-log /var/log        ext4    noatime         0       2
/dev/mapper/system-swap none            swap    sw              0       0
/dev/sdb1 /mnt/data          ext4   noatime,errors=panic,nofail    0    2

Note that /boot has a UUID but /mnt/data does not. This can cause problems when restarting the virtual machine and prevent cnMaestro from loading (Service Temporarily Unavailable!).

step 2


root@cnmaestro:~# blkid
/dev/sdb1: UUID="abcdfg12-1234-1234-b123-45454545454545" TYPE="ext4" PARTUUID="abcdfg12-12"
/dev/sda1: UUID="abcdfg12-4321-4321-b123-89898989898989" TYPE="ext4" PARTUUID="abcdfg12-43"
/dev/sda2: UUID="df34ge537-5678-5678-b123-454-545-4545-4545" TYPE="LVM2_member" PARTUUID="df34ge537-56"
step 3

root@cnmaestro:~# nano /etc/fstab
root@cnmaestro:~# more /etc/fstab
UUID=abcdfg12-4321-4321-b123-89898989898989 /boot           ext4    defaults        0       2
/dev/mapper/system-os1 /               ext4    noatime,errors=panic 0       1
/dev/mapper/system-os2 /mnt/os2        ext4    noatime         0       2
/dev/mapper/system-tmp /tmp            ext4    noatime,nodev,nosuid 0       2
/dev/mapper/system-log /var/log        ext4    noatime         0       2
/dev/mapper/system-swap none            swap    sw              0       0
#/dev/sdb1 /mnt/data          ext4   noatime,errors=panic,nofail    0    2 (It’s not deleted, it’s commented on)
UUID=abcdfg12-1234-1234-b123-45454545454545 /mnt/data          ext4   noatime,errors=panic,nofail    0    2

That’s how it turned out after the change

Thank you so much for the help from @agryph